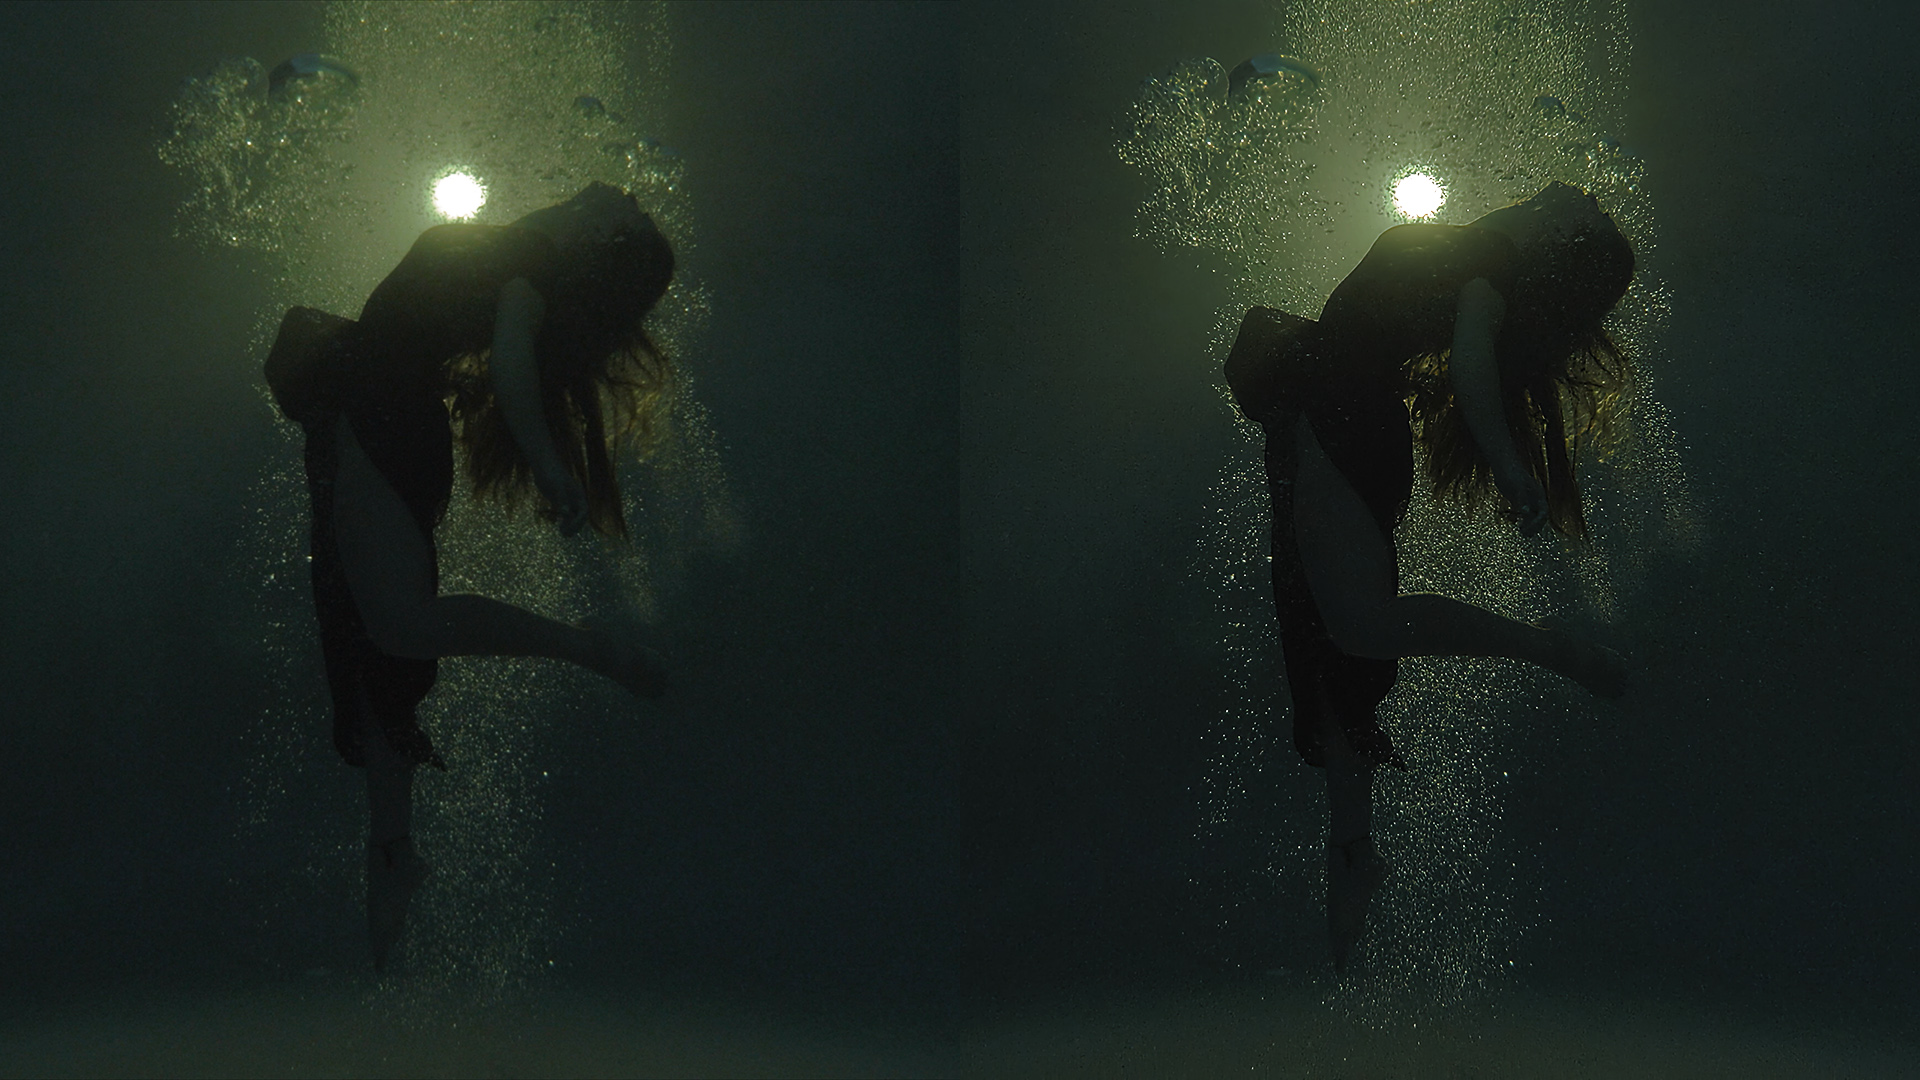
The BCC+ UpRes ML filter uses a machine learning based image upscaler with a minimalist control panel for ease of use.

Editors and compositors quite often find themselves in a situation where they need to use footage that is less than the size of the output frame size. For small upscale changes, say up to about a 10% upscale, the host level transform controls may prove adequate for this work, and the data loss incurred by this process is not so noticeable. For everything else a specialised toolset is required and Continuum has always included a trustworthy upscaler to handle this work. We’ve now given this upscale toolset an injection of AI and machine learning, with the result being the brand new BCC+ UpRes ML filter. Drag and drop simplicity with state of the art machine learning gives you the power that you expect from Continuum delivering super clean upscaled results.
Workflow Requirements: This filter requires that the project frame rate matches the source clip frame rate. If the frame rate needs to be modified, it must be done in a seperate pass after the ML results have been generated at the native clip frame rate.
- After Effects: Create a new composition the size of your final output and add your clip to the timeline. Apply the filter directly to the clip and use it to match the clip to the final output.
- Media Composer: Because Media Composer automatically resizes clips to fit the frame, the first step in working with this filter requires you to disable this feature. For Linked Clips, go into the Source Settings, select Reformat and enable Center Keep Size. For imported clips, when importing the clip, select Do Not Resize in the Import Options.
- Resolve: Much like Media Composer, Resolve automatically resizes clips to fit the frame size of the timeline. To disable this for use with this filter, you will need to go to Project Settings and, in the Image Scaling tab, change the Mismatched Resolution Files option to Center Crop With No Resizing.
- Vegas Pro: By default, Vegas automatically scales imported media to fit the project dimensions. To disable this for use with Upres ML, in the Project Properties, set the project dimensions to match your final intended output, for example, 4k - 4096 x 2304. Apply HD media to the timeline, then select it’s Pan/Crop parameters. In the parameter list make sure that the Stretch to Fill Frame option is set to Yes. Then, set the Width and Height values to to match the original dimensions of the HD clip. You may then apply Upres ML to the media.
Presets and the FX Editor
The FX Editor provides a convenient way to store and retrieve factory installed and/or user generated filter presets. To select a preset, open the FX Editor interface and pick one from the Presets panel. Click the apply button in the FX Editor to return to the host user interface.
To save a custom preset, click the “Create Custom Preset” icon in the top right corner of the parameter list, next to the filter name, set a name for the new custom preset in the dialog that appears and click done.
Filter Parameters
Mocha Mask: Click to launch the Mocha custom UI
The BCC PixelChooser provides a way for the user to select which pixels in the filtered source are actually going to be affected by the filter, via the generation of image based mattes, gradient mattes and vector shape masks. Mocha planar tracking and vector shape masking options are included in the PixelChooser, which allows for the generation of motion-tracked mask shapes as a hold-back mask.
For more information on the PixelChooser, Click Here.
Allow Resizing: Only available in Adobe After Effects, this checkbox allows for AE based resizing, allowing the full image to be displayed and moved within AE’s composition panel.
Model: Allows for the selection of the Machine Learning model. The default and currently available model is UpRes ML 1.0
Scale: Allows for the manual scaling of the image. Higher values will result in a larger scale, while smaller values will result in a smaller scale. A value of 100 represents the image at its original scale.
Center: Allows for the manual positioning of the source image focus. It’s default position is at the center of the filtered source.
Sharpen Amount: Allows for manual sharpening of the source image to reduce artifacts and noise.
Sharpen Radius: Adjusts the size of the radius of the pixel area covere by the sharpen effect. Higher values will result in a larger overall area of sharpened pixels. Smaller values will result in a more narrow area of sharpening.
Mix with Original: Used to blend the filter effect back with the unfiltered input image.
GPU Rendering: allows for the selection of GPU or CPU software rendering.
- Transparent: allows the edge of the result to become transparent.
- Repeat: repeats edge pixels to generate opaque pixels along the edge of the result.
- Reflect: reflects pixels back into the result to generate opaque pixels along the edge of the result.
- Warp: warps edge pixels to generate opaque pixels along the edge of the result.


