Overview
This document provides guidance for working with BCC+ filters in Apple Final Cut Pro X and Motion. PLEASE NOTE: As of Continuum 2021, the suite of filters have been updated and Legacy BCC Filters are no longer available as part of the installation.
BCC Legacy filters are not supported in Final Cut 10.6 and above.
For additional guidance for working with Legacy BCC filters, please click here.
Licensing the Product
- Licensing for Final Cut and Motion occurs during the installation process. Once the product has been installed, the Licensing Tool will activate, prompting you to enter your activation code.
- The Licensing Tool can be launched at any time to manually enter new activation codes, or to deactivate the licenses. To launch the Licensing Tool, navigate in the Finder to Applications –>Boris FX –> Continuum 2022.5 FX Plug –> Activate Continuum License.
- To deactivate a license, follow the same path, but instead select Deactivate Continuum License.
- Licensing the plugins from within the Licensing Tool will license the plugins for both Final Cut Pro and Motion.
Finding BCC+ effects in Final Cut and Motion
– In Final Cut the BCC+ effects will appear in their respective units categories within in the Effects and Transitions browsers.
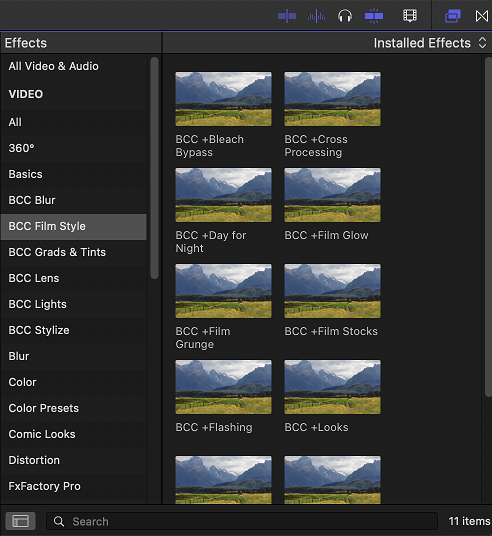
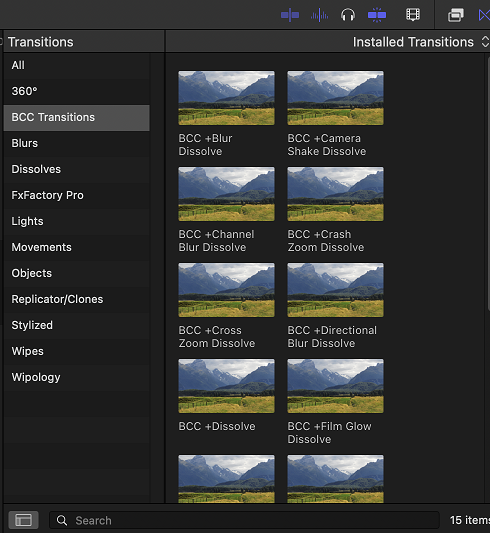
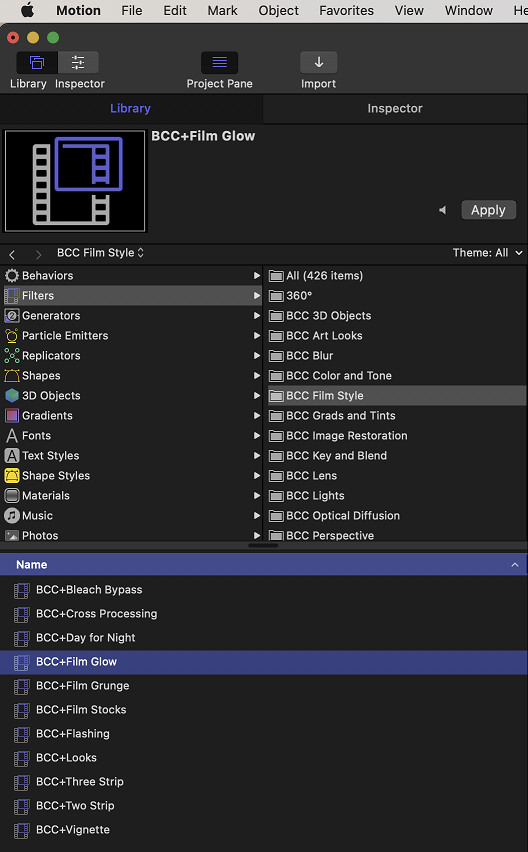
-Within Motion, the BCC+ effects will appear as several BCC categories in Filters tab. By selecting the unit category, a list of applicable filters will be displayed.
Documentation
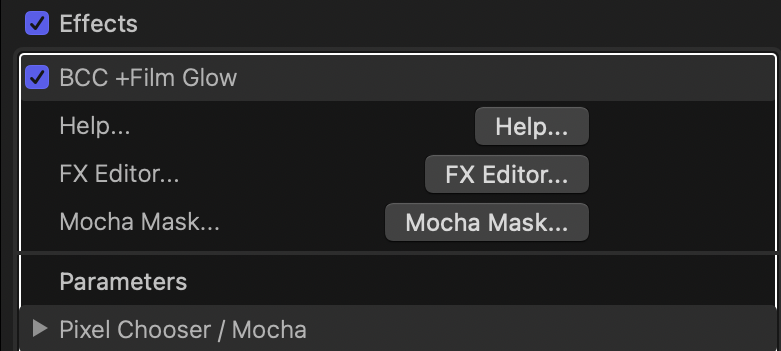
When working in Final Cut and Motion 5, it is possible to open an effect’s help file by clicking on the Help button found at the top of the effect controls in the Inspector. By clicking the help button you will be taken to the help documentation for that specific filter.
In addition, the Boris FX website contains a complete assortment of video tutorials covering a huge range of topics from introductions to the Fundamentals, to deep training Webinar replays, to in-depth looks at key effects and techniques.
Tips for working with BCC+ in FCP:
Disabling Background Render and using other Playback settings:
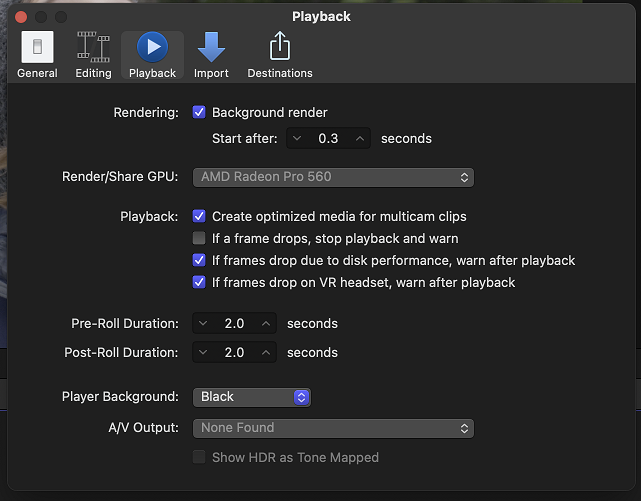
1.) When creating processor intensive effects, having Final Cut set to do Background Render can make the system seem slow or unresponsive. It may be helpful to disable Background Render when doing such work in Final Cut, and instead rendering the effects (using the Render All or Render Selected commands found under the Modify menu) at a time when you can stand by while the more processor intensive effects render.
2.) In order to preview unrendered effects more smoothly it can sometimes be useful to use either proxy media or set the Playback Quality to Better Performance.
3.) Background Render, Use proxy media, and Playback Quality settings are all located in the Playback tab of the Final Cut Pro X Preferences Window. It is possible to leave this window open while working in Final Cut Pro X when making frequent changes to these settings.
Selecting a color from the source image in FCP:
It is possible to select a color directly from the source image in FCP. This allows for more precise control of your color selection. To enable the eyedropper you will want to:
- Click on the color chip shown for the color parameter. This will launch the Mac OS color palette.
- In the Mac OS color palette, click the icon of the eyedropper.
- With the cursor you can now click on the source image to select a color

Using a trimmed clip in an input well in FCP:
Some filters will require the use of a secondary image source, for example, to composite an effect. Selection of the secondary image source is done via an image well in FCP.
- Select the image well in the filter effect. This will open your media tab and display available media. Make sure that your secondary image source clip has been added to your media.
- Select the clip you wish to use. You may also trim it to the desired length.
- Click apply.
- The resulting clip will now be imported into the effect’s image well for use as a secondary image source.
Working with the FX Editor
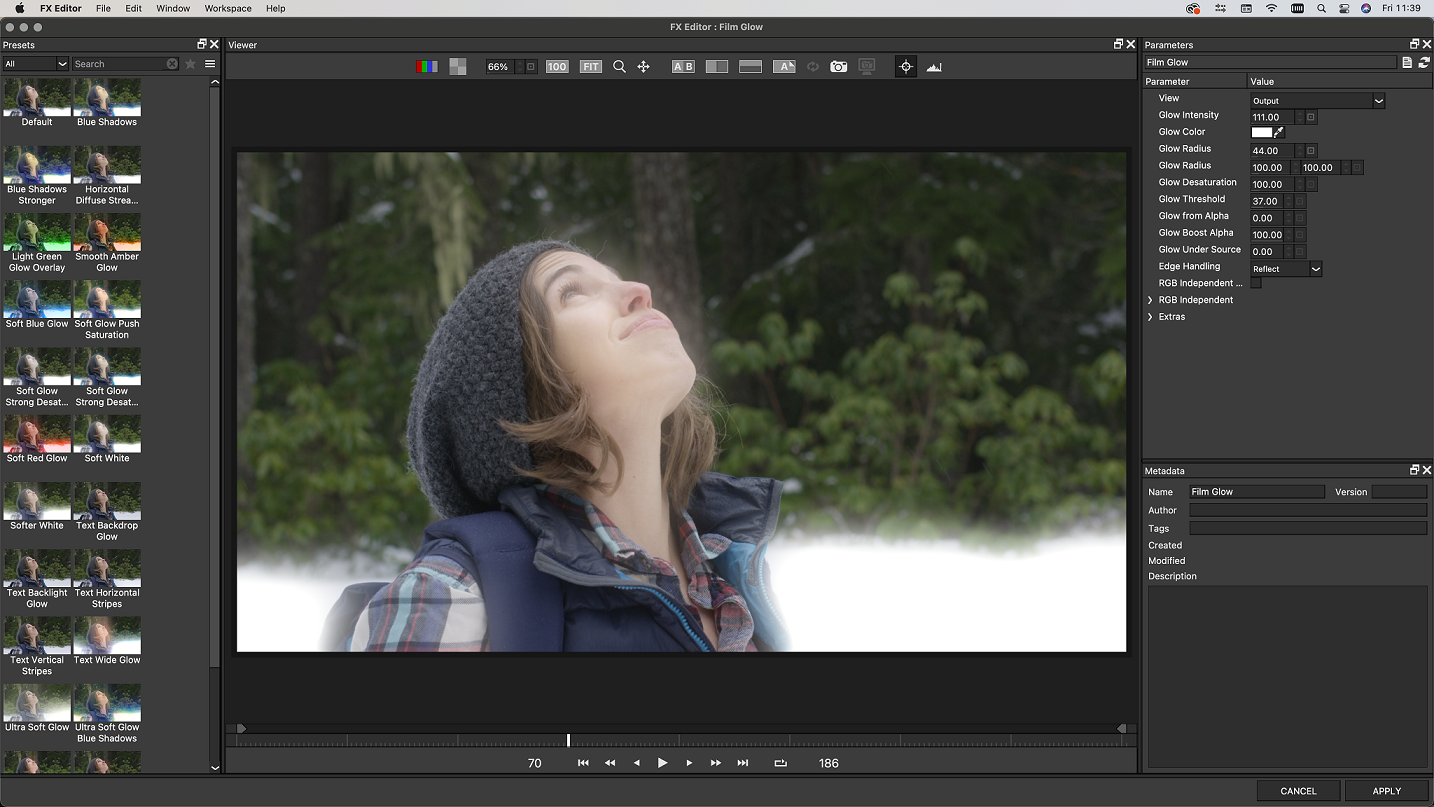
The FX Editor provides a convenient way to store and retrieve factory installed and/or user generated filter presets. To select a preset, open the FX Editor interface and pick one from the Presets panel. Click the apply button in the FX Editor to return to the host user interface.
To save a custom preset, click the “Create Custom Preset” icon in the top right corner of the parameter list, next to the filter name, set a name for the new custom preset in the dialog that appears and click done.
For additional information on the FX Editor please vist the FX Editor Help Documentation here.


