


Replaced by BCC+ Transform
We recommend use of BCC+ Transform instead of BCC DVE. The newer BCC+ Transform filter allows you to quickly transform an image using Position, Scale, Rotation, Corner-Pin, Shear and Crop controls. It is GPU accellerated for fast, speedy results, and includes access to the FX Editor.
 |
| Filtered Image |
Overview
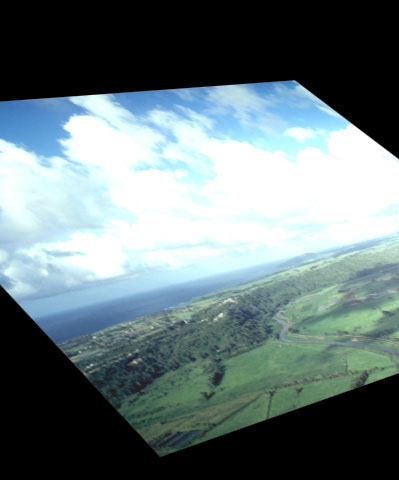
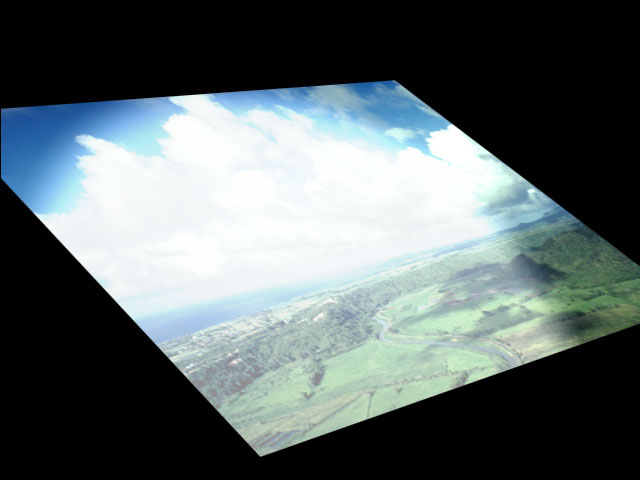
DVE models the source image on a two-dimensional plane which can rotate around the X, Y, and Z axis and positioned in 3D space. DVE also provides options for adding motion blur, adjusting camera perspective, and adding up to three independent lights to the effect.
Function
Presets and Common Controls
BCC filters come with a library of factory installed presets plus the ability to create your own custom presets and preview them with the BCC FX Browser™.
BCC filters also include common controls that configure global effect preferences and other host-specific effect settings.
For more information about working with presets and other common controls, Click Here.
- Note: Boris Continuum Complete includes both a BCC DVE and BCC DVE Basic. The two filters are very similar except that BCC DVE Basic does not include all the parameters; BCC DVE provides more options for controlling the effect; while BCC DVE Basic is streamlined for when you want to create a simple DVE move.
The Source menu sets the clip layer in the timeline used to create the effect.
If the source is opaque, selecting the Source Opaque checkbox can improve render times by rendering only the RGB color channels and not the alpha channel. Leave this option deselected if the source is partially or fully transparent.
Geometry Parameter Group
Scale X and Scale Y change the size of the layer along the X and Y axis, respectively. These parameters are scaled as percentages of the layer’s original width and height. Thus, an X Scale value of 200 produces an layer twice as wide as the original layer. Select Lock to Scale X checkbox to keep the X and Y Scale values in proportion.
Position XY sets the X and Y coordinates of the center point of the layer.
Position Z adjusts the apparent depth of the layer. Decreasing negative values move the layer closer to the viewer, while increasing positive values move the layer farther away. Very low Position Z values move the plane behind the viewer, making it invisible.
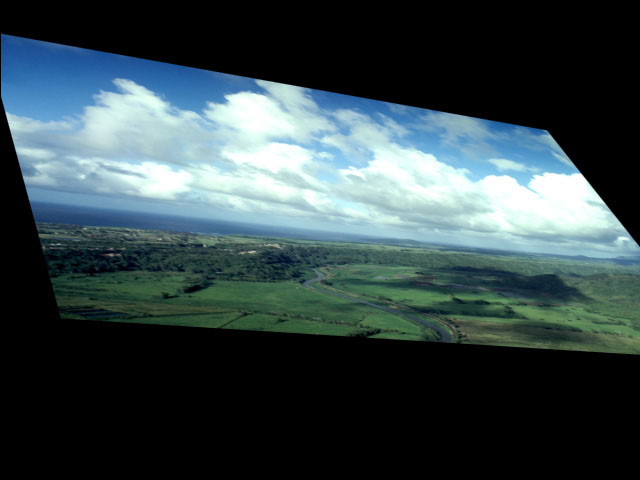
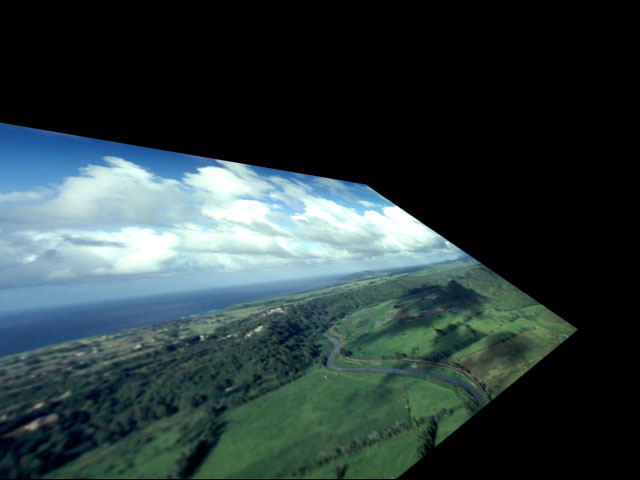
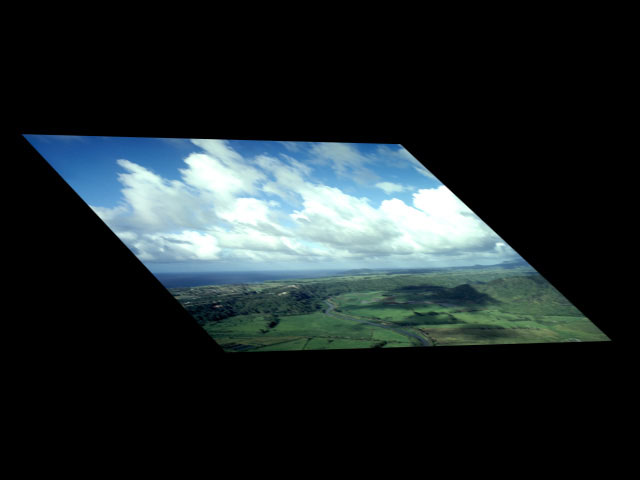
Tumble, Spin, and Rotate move the image around the X, Y, and Z axis respectively. Tumble, Spin, and Rotate can animate over values greater than 360° to make the image complete more than one full revolution.
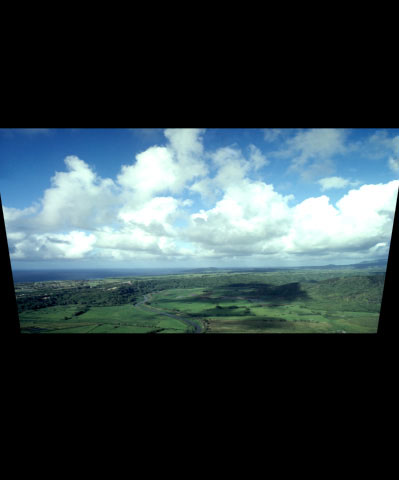 | 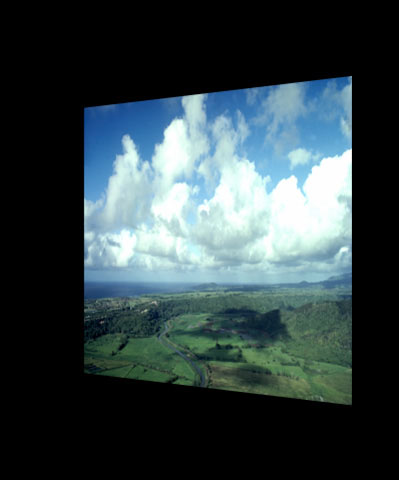 | 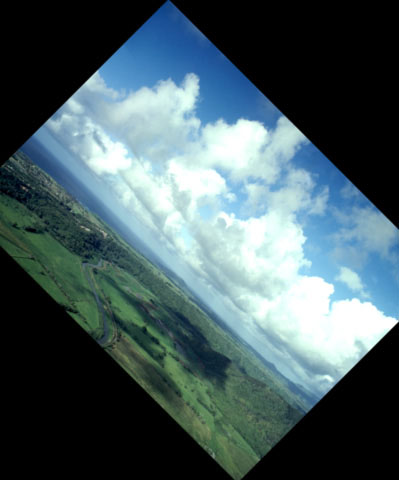 |
| Tumble | Spin | Rotate |
Camera/Pivot Parameter Group
When the Lock Pivot checkbox is selected, the image tumbles, spins, and rotates around its own center. If this option is deselected, you can set an external pivot point around which to tumble, spin, or rotate.
Pivot XY and Pivot Z set the X, Y, and Z coordinates of the pivot point. If the Lock Pivot checkbox is selected, moving the pivot point has no affect.
Camera XY sets the horizontal and vertical position of the focal point of the camera (the point on the image plane at which the camera is pointed).
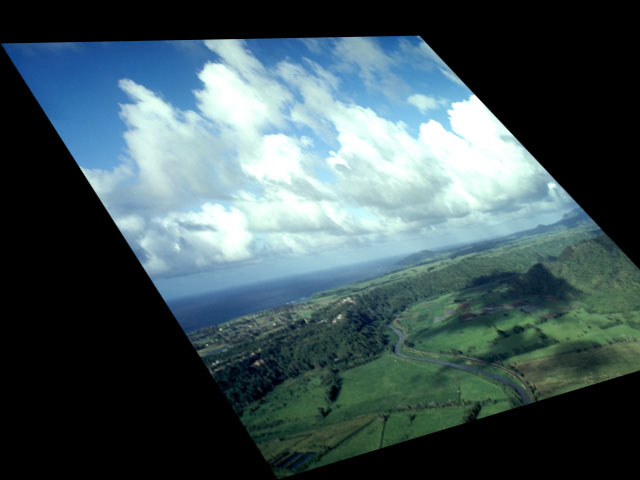 |  |
| Camera XY=10,10 | Camera XY=630,470 |
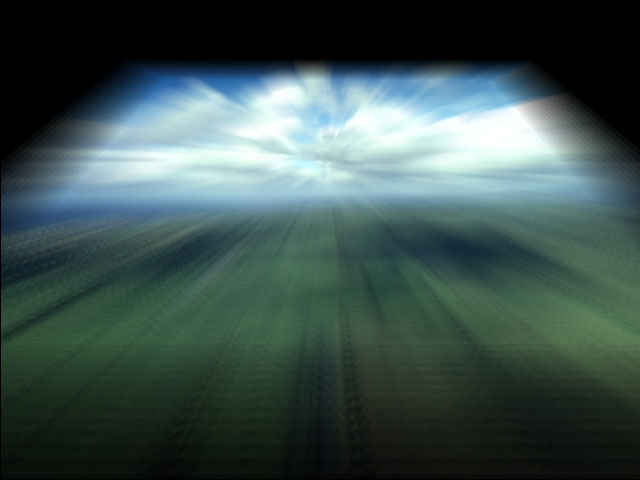
Camera Z sets the model camera’s distance from the image. Decreasing this setting places the camera closer to the image, exaggerating the perspective on portions of the image that are closest to the camera
 |  |
| Camera Z=0.5 | Camera Z=5 |
Motion Blur Parameter Group
Select the Motion Blur On checkbox to turn Motion Blur on.
- Warning: Motion Blur is a very processor-intensive feature. You might want to turn motion blur off while you work, then enable it just before rendering. You can also work in Draft Mode to speed your previews.
The Blur Quality menu determines how many times the effect samples between the time the “shutter” opens and the time it closes. Increasing the number of samples creates a smoother blur but increases render and preview time proportionately. Choose Rough, Medium, Smooth, or Smoothest. Rough uses the fewest samples, while Smoothest uses the most.
The Shutter Angle parameter refers to the workings of a conventional film camera. Normally the shutter is open to 180°, meaning that the shutter is open for half of each frame. Increasing the angle opens the shutter longer, creating a wider blur. Decreasing the angle produces a thinner blur.
 |  |
| Shutter Angle=45 | Shutter Angle=225 |
Selecting the Adaptive Motion Blur checkbox causes the effect to take fewer samples when the source moves slowly. Selecting this checkbox usually does not visibly affect the output, but improves rendering speed.
Crop & Blend Parameter Group
The Crop Top-Left and Crop Bot-right position controls crop the edges of the image and determine the width, in pixels, of the cropped area on each edge of the image.
The Blend Corner Shape menu sets the corners of the cropped image. When Square is selected, the corners form right angles. When Round is selected, the corners are rounded. If all of the Blend parameters are 0, this menu has no affect.
The Blend controls soften the edges of the image by reducing their opacity. The Blend Left, Blend Top, Blend Right, and Blend Bottom parameters determine the width, in pixels, of the transparent band on each edge of the image. These values are unaffected by the Crop values, allowing you to soften the edges of an uncropped image. Select Lock Blend checkbox to keep the Blend values in proportion.
- Note: For both the Crop and Blend controls, Top, Left, Bottom, and Right refer to the sides of the original image before it is transformed in 3D space. For example, if you tumble an image 180° so that it appears upside-down, blending the Top affects the top of the original image, which is actually the bottom of the tumbled image.
Border & Shadow Parameter Group
When the Drop Shadow On checkbox is selected, the shadow is visible. When this parameter is not selected, the shadow is not visible, and the other shadow parameters have no affect.
The Border Corners menu sets the corners of the border. When Square is selected, the corners form right angles. When Round is selected, the corners are rounded.
Border Width controls the width of the border. Width values are measured in pixels and are based on an image scale of 100%. If you scale the image, the border scales with it.
Border Opacity sets the opacity of the border and is scaled as a percentage. When Opacity is 100, the border is completely opaque. Lower Opacity values allow the background to appear through the border. When Opacity is 0, the border is completely transparent.
Border Softness adjusts the softness at the edges of the border. The amount of softness depends on the width of the border—wider borders can accommodate more softness.
Border Color sets the color of the border.
Shadow Distance sets the distance (in pixels) between the shadow and the image.
Shadow Intensity sets the opacity of the drop shadow, and is scaled as a percentage. At a value of 100, the shadow is completely opaque. Lower Shadow Intensity values allow the background image to be seen through the shadow. At a value of 0, the shadow is completely invisible.
Shadow Softness controls the softness of the edges of the shadows. A setting of 0 produces a sharply defined shadow with hard edges. Increasing Shadow Softness produces shadows with softer edges.
Shadow Angle sets the direction of the drop shadow. A setting of 0° places the shadow to the right of the image; a setting of 90° places it directly below the image. You can animate the shadow using Angle values greater than 360° to make it undergo one or more full revolutions.
Shadow Color sets the color of the shadow.
Ambient Light adjusts the brightness of the image. The default setting of 100 does not add or subtract ambient light from the source image. Decreasing this value darkens the image before other light is applied. Ambient light illuminates or darkens the image evenly, and is unaffected by any other lighting parameters.
Select the Light On checkbox to turn on the corresponding light source. Deselect this option to turn off the light.
Light 1, Light 2, and Light 3 Parameter Groups
The parameters in these sections allow you to apply up to three different lights to the effect. Each section contains parameters which control the corresponding light source. These parameters function identically for each source.
The Light Type menu sets the light type.
- Diffuse–Specular combines both focused (specular) and diffuse light. You can use this Light Type to create the appearance of a shiny surface lit by a point light source.
- Spotlight simulates the look of a traditional theatrical spotlight.
- Light Sweep creates a linear band of light that sweeps across the layer.
 |  | 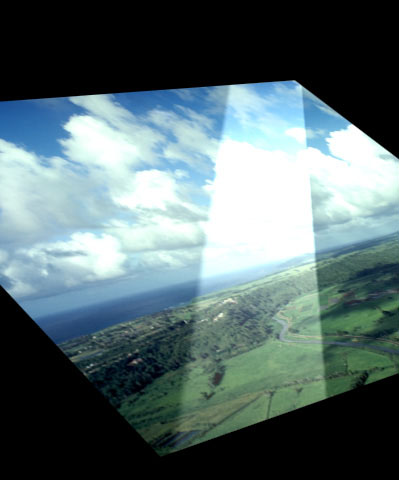 |
| Diffuse-Specular | Spotlike | Light Sweep |
Each of the three light types is controlled by a slightly different group of parameters. The following chart indicates which parameters are used by each light type.
| Parameter Name | Diffuse-Specular | Spotlight | Light Sweep |
| Source XY | X | X | X |
| Source Z | X | X | X |
| Target XY | X | X | X |
| Width | — | X | X |
| Intensity | X | X | X |
| Parameter Name | Diffuse-Specular | Spotlight | Light Sweep |
| Specular | X | — | — |
| Color | X | X | X |
| Falloff | — | X | X |
| Sweep Angle | — | — | X |
| Point at Source | — | X | X |
| Apply Mode | X | X | X |
| Apply Mix | X | X | X |
Source XY Spotlight sets the location of the light source on the horizontal and vertical axis.
Source Z controls the distance between the light source and the image plane. Decreasing this value moves the light source farther from the image, while increasing this value moves the light closer. Changing the Source Z setting allows you to focus the light or to spread it over a larger area.
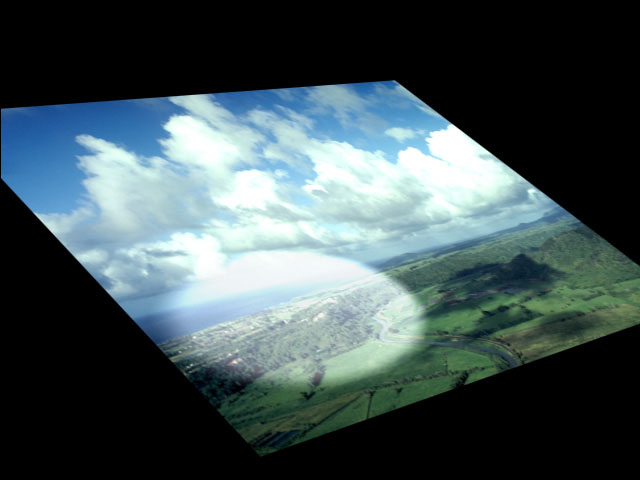 |  |
| Source Z=0 | Source Z=3 |
Target XY Spotlight sets the X and Y coordinates for the point at which the light is aimed.
Width controls the width of the light beam.
Intensity controls the intensity of the light source. Increasing this value creates a brighter light.
- Note: When using the Diffuse-Specular Light Type, Intensity controls the intensity of the diffuse light on the image and has no affect on the intensity of the specular light. Increasing the Intensity value increases the size of the lit region and makes the center of the lit area look increasingly bright.
Specular determines the amount of specular light applied to the image. Increasing this value increases the amount of light at the center of the lit region.
The following illustrations demonstrate the effect of adjusting Intensity and Specular.
 |  |  |
| Intensity=50, Specular=0 | Intensity=50, Specular=400 | Intensity=50, Specular=400 |
Color controls the color of the Light source.
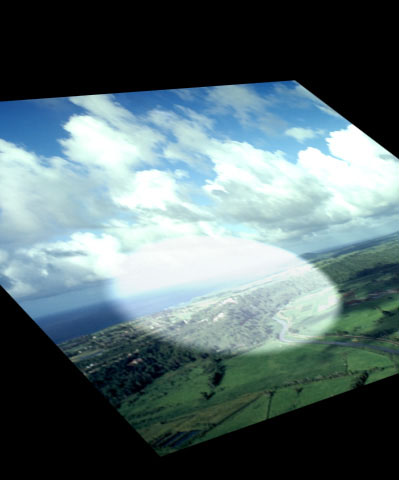
Falloff adjusts the amount of falloff on the edges of the lit region. Increasing this value adds more falloff, softening the edges of the lit region. Decreasing this value reduces the amount of falloff, creating harder edges on the lit region.
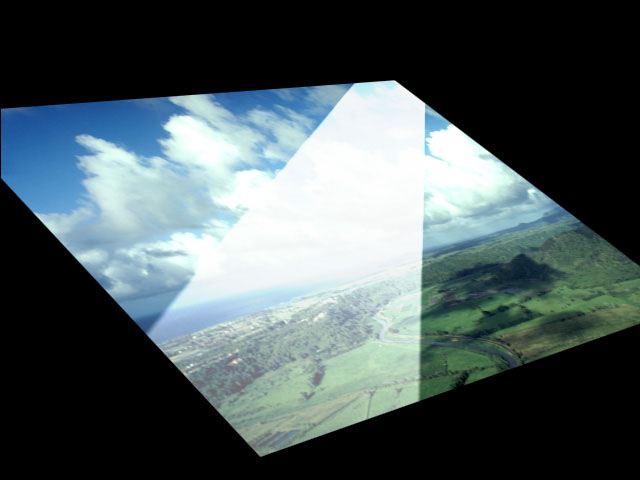 | 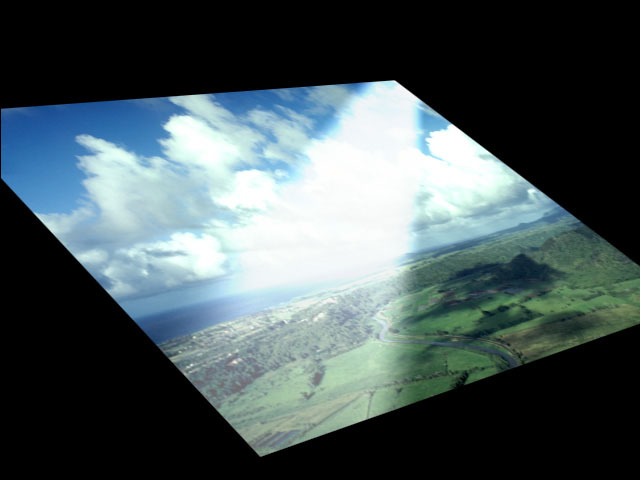 |
| Falloff=5 | Falloff=50 |
Sweep Angle sets the angle between the beam of light and the horizontal axis.
If you select the Point at Source checkbox, the Target point coordinates are set relative to the undistorted source, so that the light follows the source as it animates.
The Apply Mode menu controls how the light is composited with the source image. For descriptions of all the possible Apply Modes, Click Here.
Apply Mix controls the mix of the specified Apply Mode with the Normal apply mode. If the Light 1 Apply Mode is Normal, Apply Mix has no affect. If Apply Mix is 0, Apply Mode has no affect. Increase Apply Mix to blend the Apply Mode setting with the Normal apply mode.
Beat Reactor
The BCC Beat Reactor is an animation control suite which drives effect properties based on the contents of an audio track. This lets you seamlessly tie visual FX to an audio soundtrack without the need for ANY manual keyframing.
For more information on the Beat Reactor, Click Here.