


If you ever wanted to create an image with better lighting or add light beams from the sky or sunlight to your image as if something celestial was coming from the heavens, adding light rays effects is the best way to achieve it.
In this article, I'll guide you through creating a light ray effect to produce light beams and enhance a photo, adding visual effects to a video with light rays, or adding a third dimension to an image using an easy-to-use plug-in from Boris FX Continuum.
Let’s dive in!
What Are the Effects of Light Rays?
The light ray effect is a visual effect used in photography, video editing, and image processing to add virtual sun or light rays that look realistic. Light rays can add light beams to a landscape or environment to create magic visual effects or add more drama to your photos, videos, and other graphic design effects, including titles.
However, you can also use light ray effects to enhance a light source in your photo to make it more cinematic, such as a lamp, the moon, a flashlight, or car lights.
Create Realistic Light Ray Effect with BCC+ Rays
For this tutorial on light ray effects, you’ll use BCC+ Rays. These light effects from Continuum are perfect for adding realistic light rays to an image: BCC+ Rays add light rays on the highlight areas, allowing the effect to pass through objects such as windows, clouds, trees, fog, and titles, which adds a 3D look.
To start this tutorial, go to the Continuum website to download the installer. Remember to choose the right software when installing Continuum.


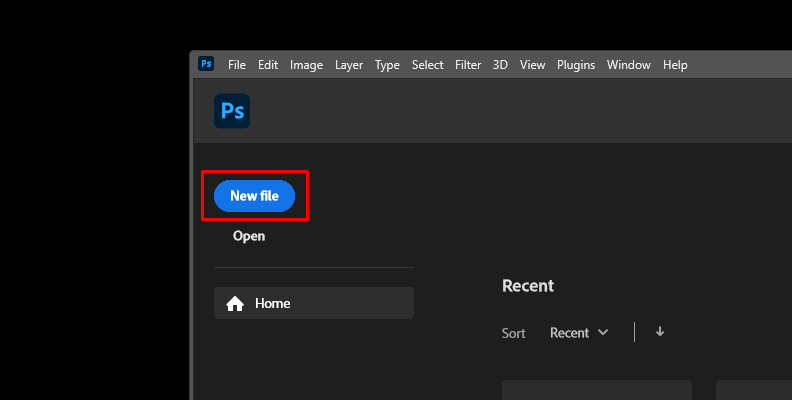
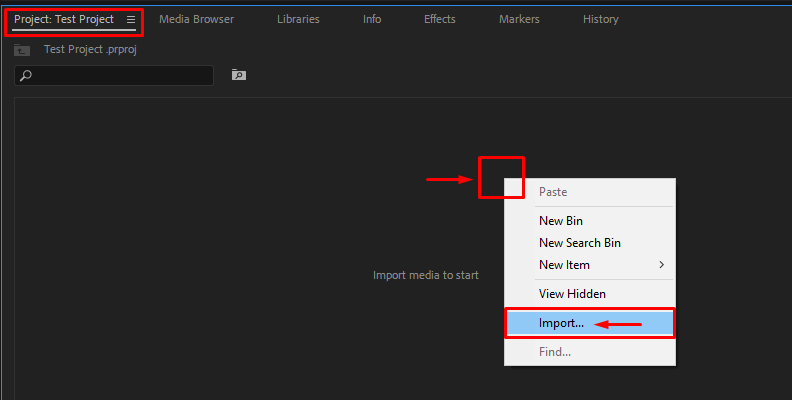
Step 1: Create a New Project
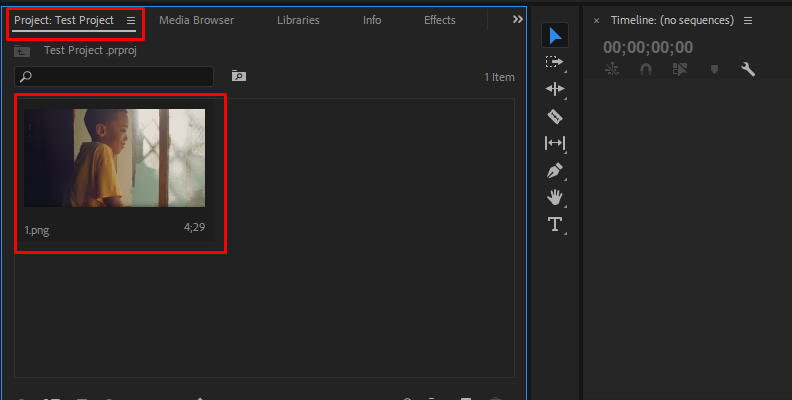
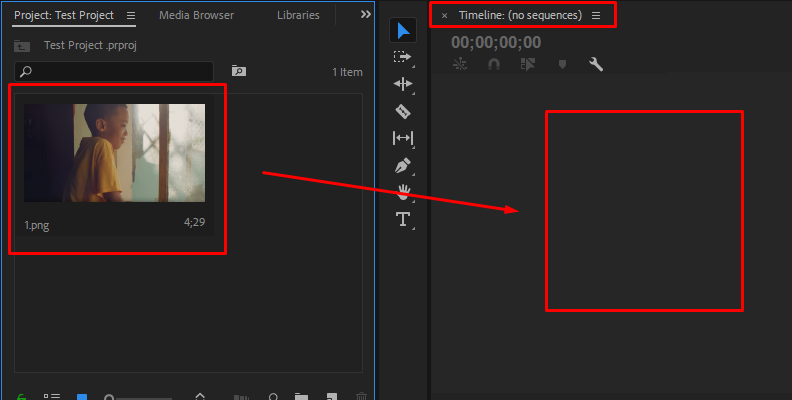
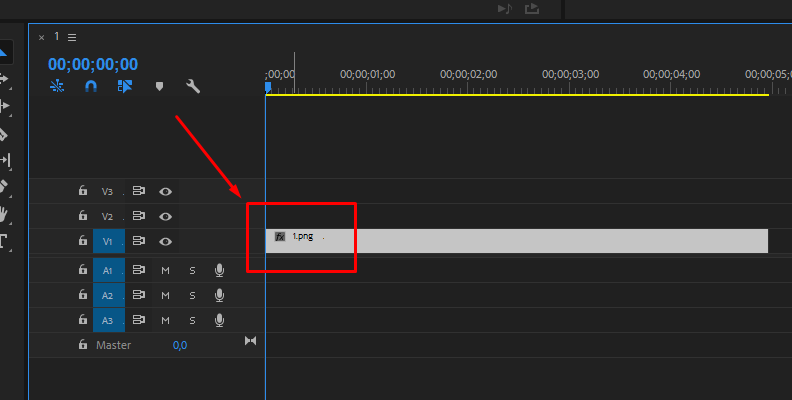
Start a new project on a supported host and import the image to which you want to add light rays.
To make the effect more realistic, try an image that already has a light source on the background, like the sun, a lamp, or something that would be backlit. It doesn't have to be strong, as you can enhance it with BCC+ Rays.
However, you can get creative with any image and even add an artificial light source to your unlit background.
The light rays effect can also be applied to a text layer, so prepare your layers with text and photos to use. You can also create a new layer as an adjustment layer to apply the effect to it instead of the original image.
Step 2: Apply BCC+ Rays to the Image
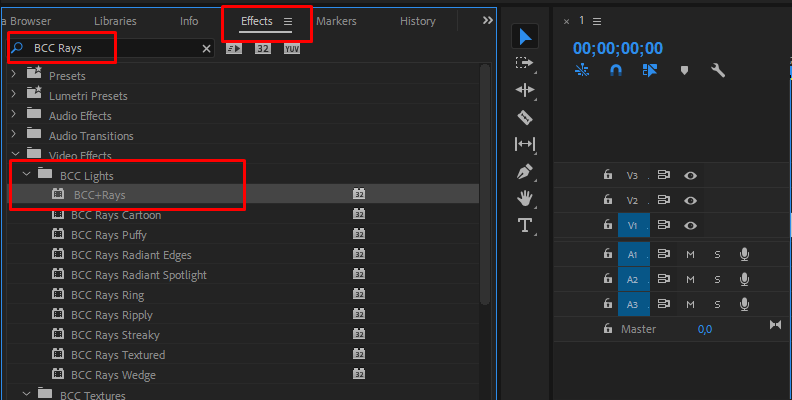
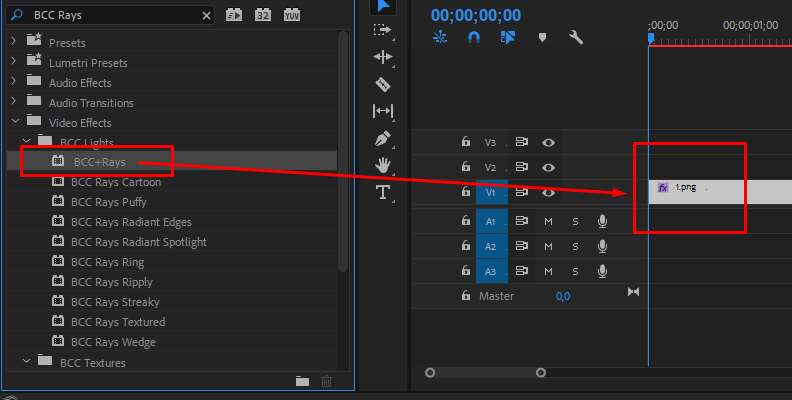
You apply the BCC+ Rays effect as any other effect. Go to the effects library or filter menu in your software, find the BCC Lights category, and search for BCC+ Rays. Then, drag the ray effect you chose to your image or text layer. Options are endless, from Radiant Edges to Radial Blur for a softer light effect, so make sure you explore all options over time.
Step 3: Choose a Light Ray Effect Preset
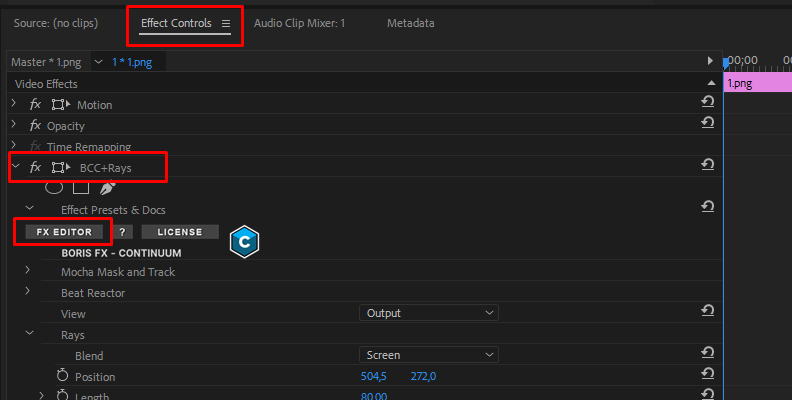
A convenient way to start quickly is to look at the preset library. At the very top of the BCC+ Rays effect controls, click the FX Editor button to launch the effect user interface and light rays preset library. Here, you can retrieve and store presets as you customize them or create new ones.
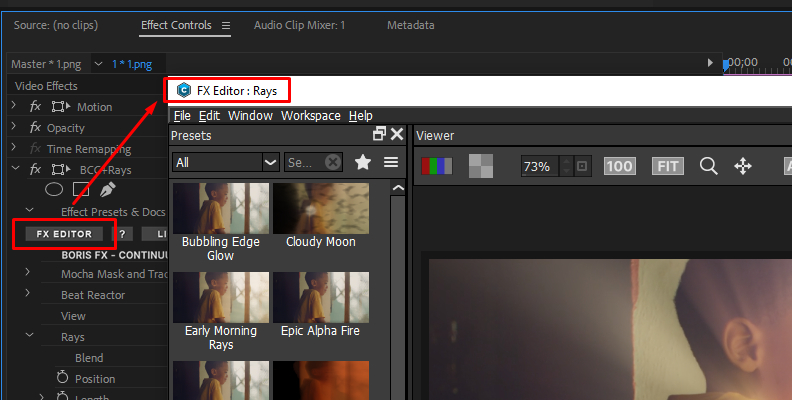
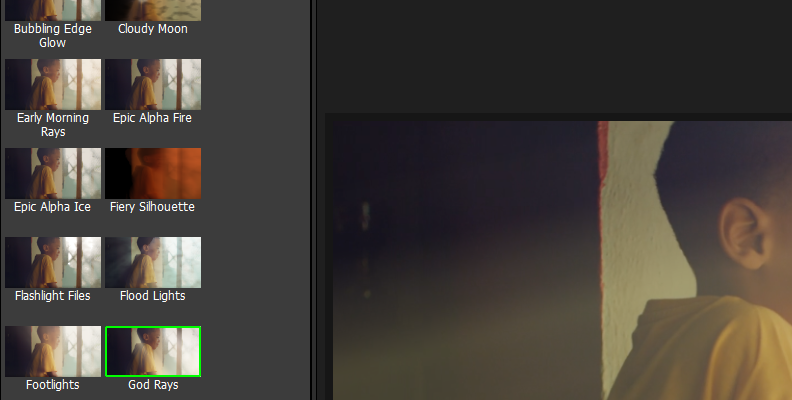
There are a few popular presets to create an effect, such as simple light rays, God rays, setting sun, flashlights, and more. Pick one and click Apply when you're satisfied with the filter.
To customize the preset, continue with the following steps.
Step 4: BCC+ Rays Settings
You have the light ray parameters on the right side of the FX Editor. First, you have the view mode to change as you edit the light rays of the effect. You can switch between the output image, the rays, the texture, and the light source. There’s also two blend modes you can choose: Add and Screen blend.
The effect's parameters are divided into several groups to adjust the rays, the light source, and the texture. I'll divide this guide to set each one, but once you're familiar with the settings, you can start anywhere or jump from one another to make the right adjustments.

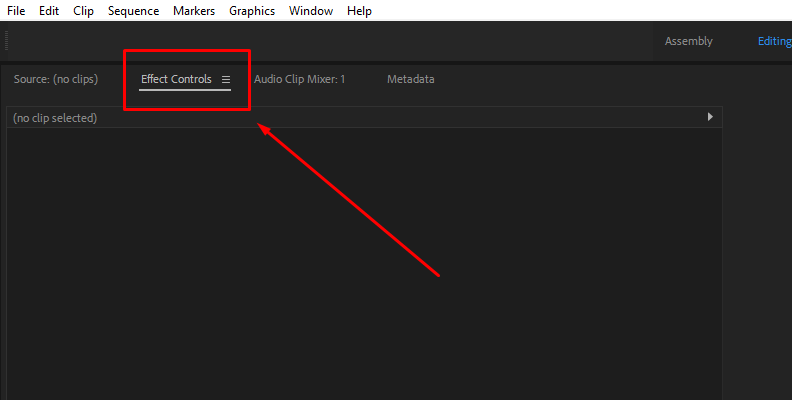
You can adjust the parameters from the FX Editor interface or the effects control in your software. Everything you adjust from the FX Editor will transfer to your host, where you can edit it later.
Step 5: Create the Light Rays
Let’s begin with the light rays. You can choose the source point of the light rays by adjusting the position value or moving the single point control on the preview window. You can animate it to give the effect of moving in the background or the passing of time.
In this group of settings, you can also adjust the ray length and blur method option, brightness, and color and add a blur effect to soften the ray lighting. The threshold sets the number of rays and their definition. A higher threshold will result in fewer light rays with higher definition.
The Shimmer parameter group allows you to randomize the light rays. Adjust the Amount and Phase controls to set the shimmering and its randomness.
Under the Opacity setting, you can adjust the opacity of the light rays and the original photo. Play with these settings until you craft the perfect light rays for your image.
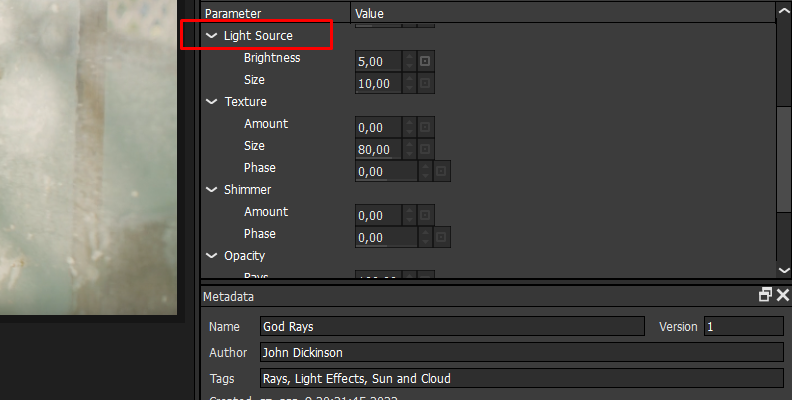
Step 6: Create and Adjust the Light Source
If your photo doesn't have good highlights, you can fix and enhance the source light with the Light Source controls, which generates an extra source of light for the light rays. Adjust the brightness and size values to add the light source to your rays.
Step 7: Texture Settings
You can add texture to the light rays to create light beams with noise. Under the Texture parameter, adjust the amount and size of the texture and use Phase to add randomness to the texture. Remember, you can change the view to see the texture only to see what you are doing.
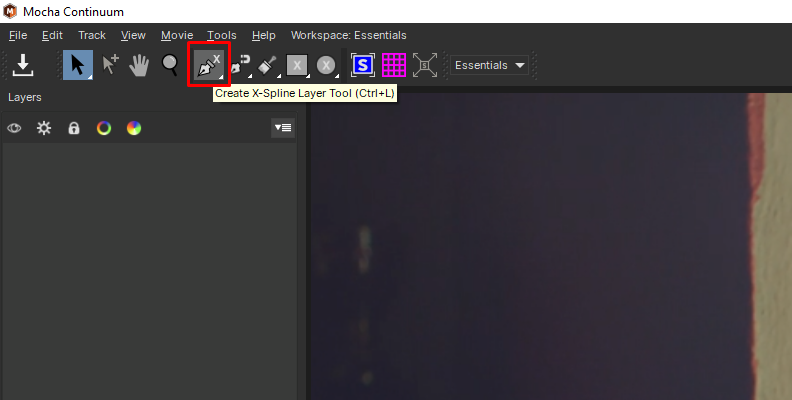
Step 8: Using the Mocha Feature
BCC+ Rays features a Mocha mask and track feature. Mocha is a planar tracker that is included with every Continuum filter.
It allows you to mask and track the effect to apply it to specific parts of the image or to animate the light rays without manually keyframing. You don’t need to own Mocha Pro to use this feature.
Display the Mocha setting and click on Mocha Mask to launch Mocha.

In the Mocha UI, you can easily create a layer mask of the object you want the light rays to follow. Imagine you have a video of a sunset; you can make the BCC+ Rays effect to follow the sun. Or follow a car so the light rays follow the vehicle's movement.
Save the Mocha project and close the UI. You can return to edit the tracking or mask layers later.
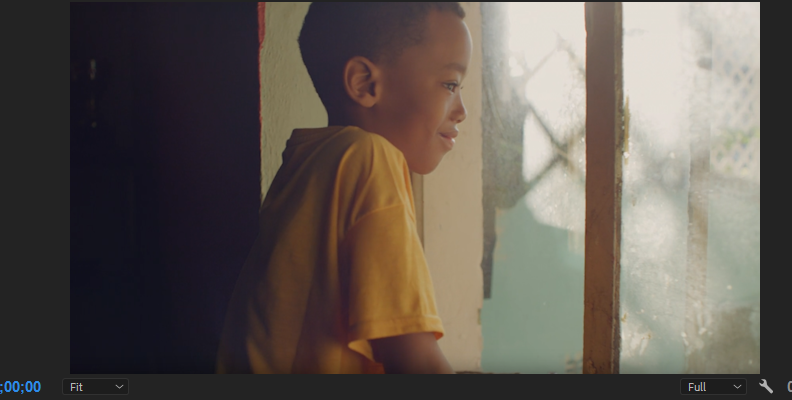
This is our BEFORE image.
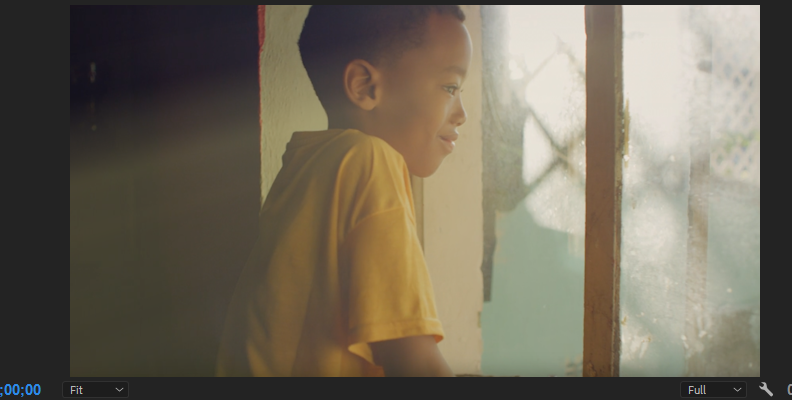
And this is our AFTER image.
Final Words
Creating light rays doesn't have to be complicated! Avoid using duplicate layer after layer to manually paint the light beams and blend them in a photo using Photoshop. With BCC+ Rays, you can simply add the effect to your image and adjust the easy controls to craft the light rays customized to your image. Then, you save those light rays as presets to use later.
Download Continuum now to use BCC+ Rays and more light effects.
Good luck!


