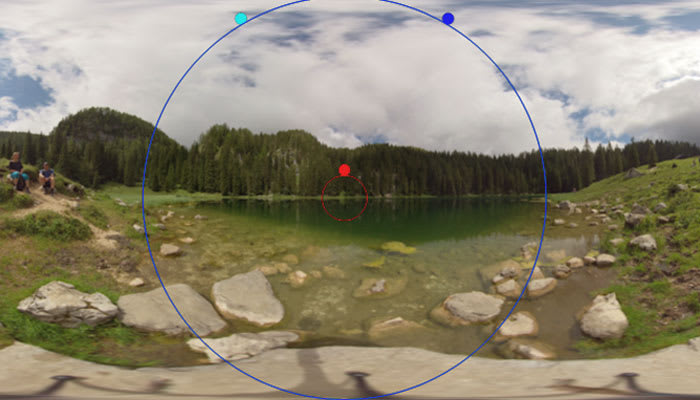
Have you ever looked at a kaleidoscope? Those tubes you look into and watch colorful beads and shapes pattern and mirror each other as you rotate them. Their stunning and shiny patterns make for great image designs and video effects.
There are many methods for making a kaleidoscope pattern in Photoshop, Illustrator, and other photo editing software for designs, posters, background images, and photos. However, the kaleidoscope can also be used for video effects, transitions, motion graphics, and visuals.
In this tutorial, you’ll learn how to make a kaleidoscope effect for transitions and video effects using BCC Kaleida Dissolve. The effect settings are the same for every compatible host, so you can follow the tutorial with any host as long as it’s supported and transform your footage with endless patterns and possibilities.
Let’s dive in!
How to Create a Kaleidoscope Effect with BCC Kaleida Dissolve
The BCC Kaleida Dissolve is a transition effect included in the Continuum plug-in that helps you create a kaleidoscope effect for your videos. It auto-animates your transition progression to make the dissolve as explosive or smooth as needed.
Step 1: Apply BCC Kaleida Dissolve Transition
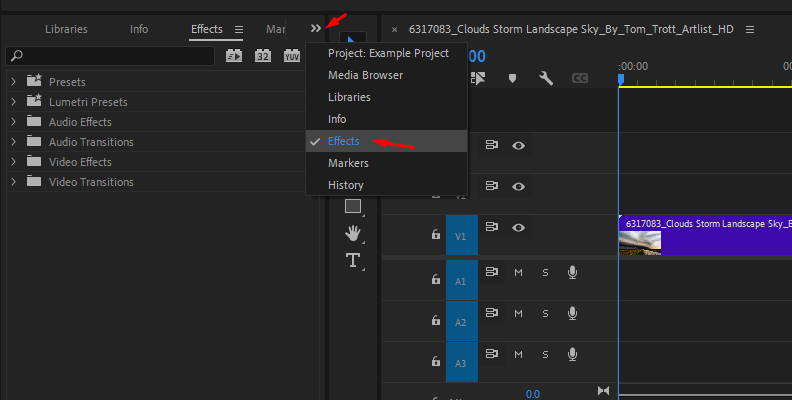
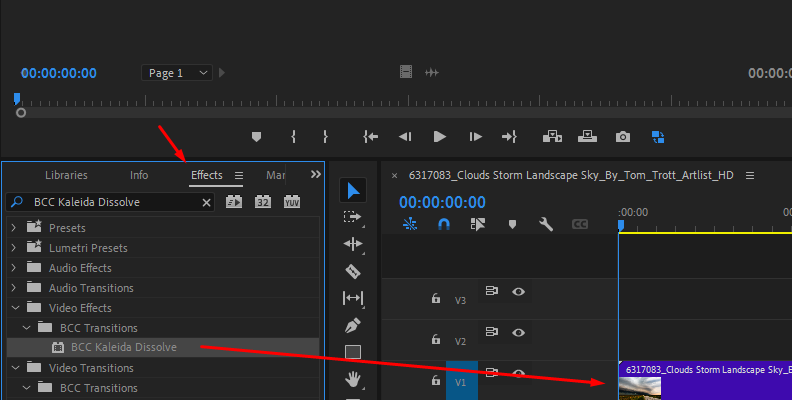
Open the Effects library in your host application and search for BCC Kaleida Dissolve under BCC Transitions > BCC Kaleida Dissolve, and drag it to your video. If your host application allows you to preview effects, you can preview the default settings if you hover over it.
BCC Kaleida Dissolve can be used as a transition in a regular NLE or as an effect in composition software.
Step 2: Try Presets
I always suggest checking out the presets first, as you might find the exact effect you're looking for. Click the FX Browser icon at the top of the Effect/Transition settings. Select a preset from the layers panel on the left in the FX Browser window to preview it. If you find one you like and want to modify, click Apply at the bottom right. After that, you can select "duplicate layer" to make changes while keeping the original intact.
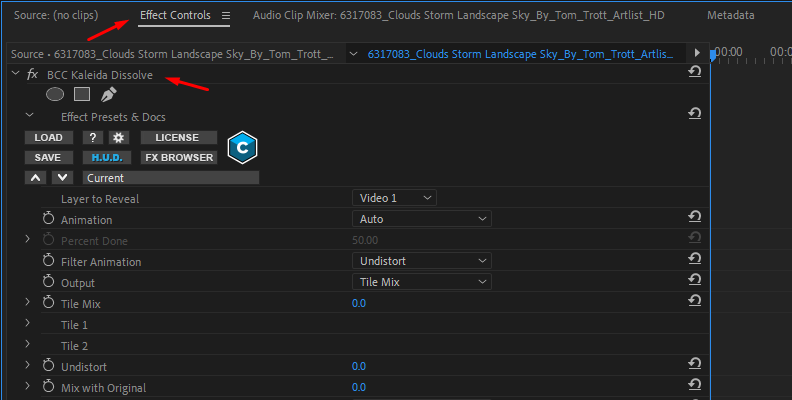
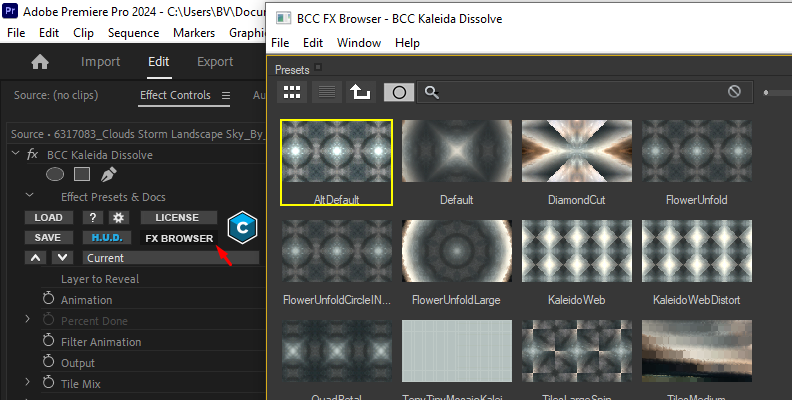
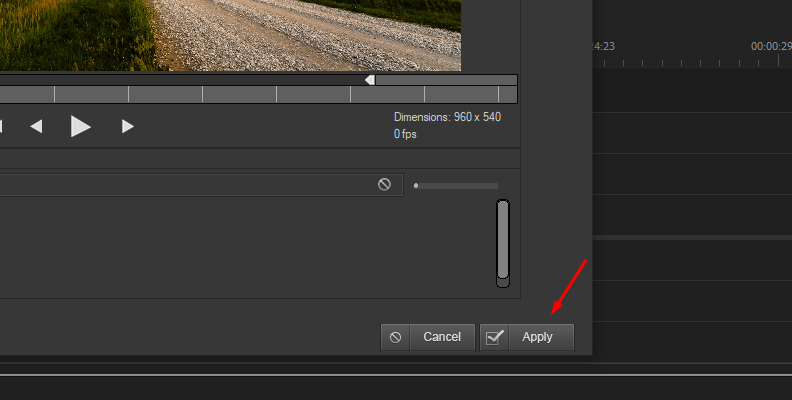
Play your sequence to see the transition preset. In the next few steps, we'll modify the preset or customize the default settings.
Step 3: Customizing the Kaleidoscope Effect Animation
The first setting is the Animation drop-down menu. Here, you have only two options: Auto and Percent Done. Auto is selected by default and it will adjust the kaleidoscope effect to the transition or clip's length.
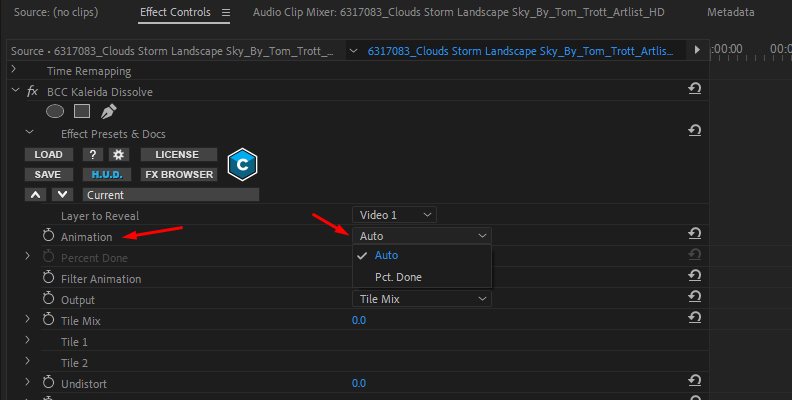
When Percent Done is selected, you can create keyframes to adjust the kaleidoscope effect in your clip’s transition using the slider to change the animation. This is helpful if you manually want to control the transition timing using BCC Kaleida Dissolve to add a kaleidoscope pattern effect to your image. To fine-tune your effect, you can use the blending mode options to create unique visual styles and experiment with the angle of the kaleidoscope design.
Editing the Filter Animation Settings:
The next parameter is the filter animation. It determines the animation style of the transition by selecting between three options:
Undistort will gradually begin the kaleidoscope animation, slowly increasing its intensity, reaching its peak point when the clip changes, then revealing the next layer and undistorting the image.
Mix With Original will use the original footage and make a kaleidoscope pattern on top of it. You will see the kaleidoscope effect fading over your image.
Undistort and Mix combine the two other animation styles, building the animation throughout the transition but fading in the footage.
Step 4: Creating the Kaleidoscope Pattern
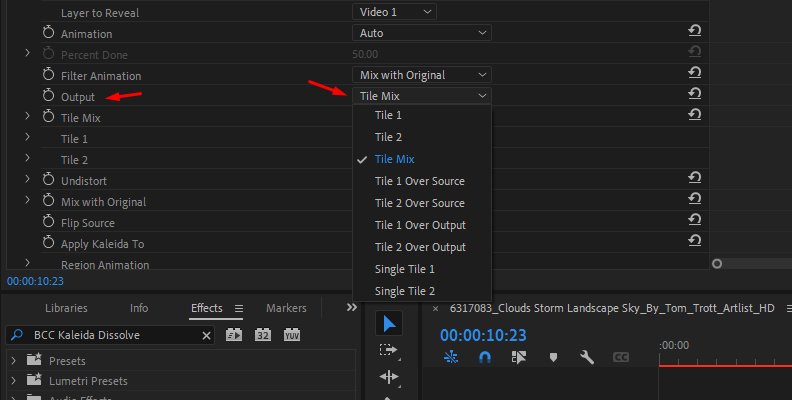
In the Output menu, you can switch between output views. Tile Mix is selected by default, but you can change it to see Tile 1 and Tile 2. This option can be handy as you change the parameters of each tile.
Adjusting the Tile Settings
Below are the Tile 1 and Tile 2 setting groups to create a kaleidoscope pattern. When you adjust the Tile 1 subgroup, change the Output view to Tile 1. Then, when you go to Tile 2, change the Output view to Tile 2.
The controls for both tile group settings are the same, so I’ll go over one, but it applies to both Tiles. They’re also pretty straightforward, allowing you to get creative with simple controls.
The Center point picks the part of the image to set as Tile 1. If your host application allows it, you can adjust the X and Y by typing the position or using the overlay controls in the preview window.
Size lets you change the size of the tile to include a larger part of the image to create the kaleidoscope pattern. The Style drop down menu gives you a variety of options to make a kaleidoscope effect. There are plenty to choose from. Play with the size and center settings to create unique kaleidoscope looks.
The Rotation setting will change the angle of the image. Play with this setting to make the kaleidoscope more turbulent with the colors or to ease them if it’s too chaotic. To enhance the kaleidoscope effect further, try to play with the background layer to add depth and contrast to your composition.
When you’re done editing both Tile parameters, change the Output view to Tile Mix to see the two Tiles mix for the kaleidoscope transition. Changing the Output to either Tile Over Source, Tile Over Output, or Single Tile output views lets you see which part of the image each tile is made of.
I'd also recommend you use the shift key to select multiple layers, and after final adjustments, select merge visible to combine all visible layers into one.
With this, you should have the kaleidoscope effect ready. Below are a few more options to consider to adjust the kaleidoscope transition.
Undistort will remove the distortion from the transition. A value of 0 will have distortion, and a 100 will remove it, leaving the original image.
Mix With Original blends the transition with an unfiltered clip.
Flip Source flips the source image before the tile resamples it to create the mirror effect. It can be set to none, horizontal, vertical, or both.
Step 5: Fine Tuning the Kaleidoscope Effect
The next group of parameters will allow you to fine-tune your kaleidoscope pattern.
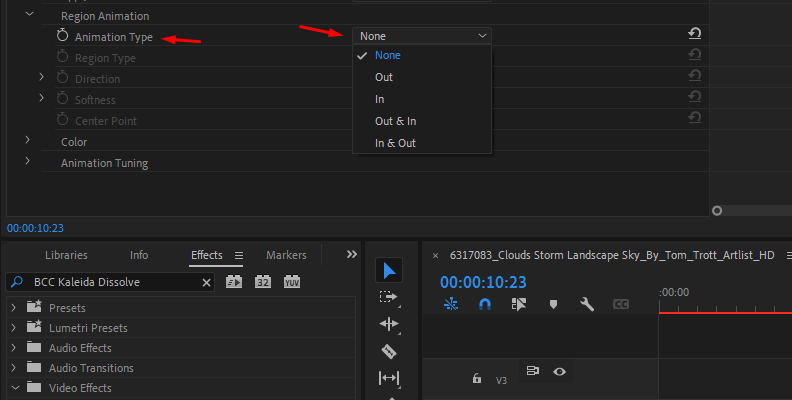
Under the Region Transition Group, you can adjust the direction of the transition. To enable the following settings, select an Animation Type and then select the region type to change the shape of the transition, the angle direction, soften the edges, and set the center point.
Under the Color parameter, you can adjust the brightness and contrast when the transitions are at their maximum peak. The color values will gradually build to the peak point and decrease when the next clip is revealed.
The Animation Group parameter allows you to control the transition duration and determine how the intensity increases and decreases after the peak point. These settings are only needed if you work with hosts that do not allow you to manipulate the effects directly on the preview window. The displayed curves and points let you work more quickly, but if your host does not have them, the filter offers a way to manipulate them with sliders.
Final Words
Creating a kaleidoscope effect with BCC Kaleida Dissolve is a piece of cake. Whether you apply it with the default settings, use a preset, or tweak all its settings to craft unique kaleidoscope designs, Kaleida Dissolve and Continuum have you covered!
Get Continuum today to explore and experiment with different images, videos, and photos to create fun and stunning kaleidoscope images like colored glass tubes. This process will let you create visually stunning designs that resemble intricate colored glass patterns, bringing a unique aesthetic to your projects.
Good luck!


