


Recording videos with smartphone devices is the standard for many, and despite the vertical video format being popular on most leading platforms like Instagram or TikTok, uploading vertical content on other platforms like YouTube or Rumble is not optimal in most cases.
Luckily, there are ways to make the content look better when uploading it to websites where the preferred format is landscape and not portrait to avoid the "black bars" look.
In this guide, we'll help you learn more about converting portrait videos to landscape, the reasons to do so, and some of the simplest yet most effective tools for the task.
So, without further ado, let's get straight into it.
How to Make a Vertical Video Horizontal Using BCC Reframer
BCC Reframer is one of the best tools to use when you need to embed a vertical video in a landscape video format. But, before we get into the step-by-step tutorial on how to use it, a brief introduction.
The BCC Reframer tool is part of Continuum developed by Boris FX. Continuum is a renowned collection of helpful plug-ins, tools, filters, transitions, effects, and everything else that a creator finds helpful, both in the photo and video editing sphere.

Continuum can be installed and incorporated with various popular video editing programs, like Adobe Premiere Pro, which we'll be using for this specific example, After Effects, Avid, Final Cut Pro, VEGAS Pro, DaVinci Resolve, and more.
Last but not least, Continuum has a free trial version that you can download from the official Boris FX website. Using the free trial version will watermark your content. However, you can use it to learn and test how all tools work before deciding to upgrade to the full version.
Once you have Continuum installed for your editing software of choice, you can follow the steps below to convert portrait video to landscape using BCC Reframer.
With that said, let's get into it.
Step 1: Open Premiere Pro and Create a New Project File
The first step is to load Premiere Pro on your PC and create a new project file. We recommend not working on an already-started project until you learn the process flawlessly so you don't make any unwanted changes.
With that said, once you load Premiere Pro, click the "New Project" button on the home screen.

Select your preferred settings and create the project.
Step 2: Import Media and Create a Timeline/Sequence
Once you've created a new project, your next step is importing media and creating a timeline/sequence from the imported media.
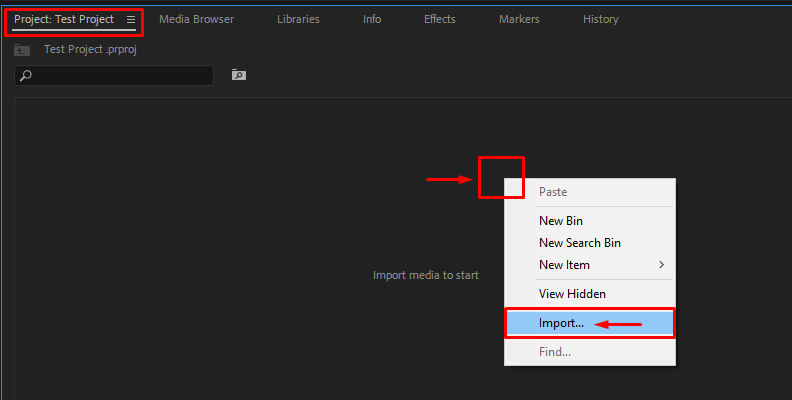
To do this, go to the "Project" tab as like in the image below, then right-click anywhere in the area where it says "Import media to start" and select "Import".
Once you click import, you'll see your operating system's File Explorer come up on the screen. Here, you need to locate the files on your computer's storage and select them for importing.
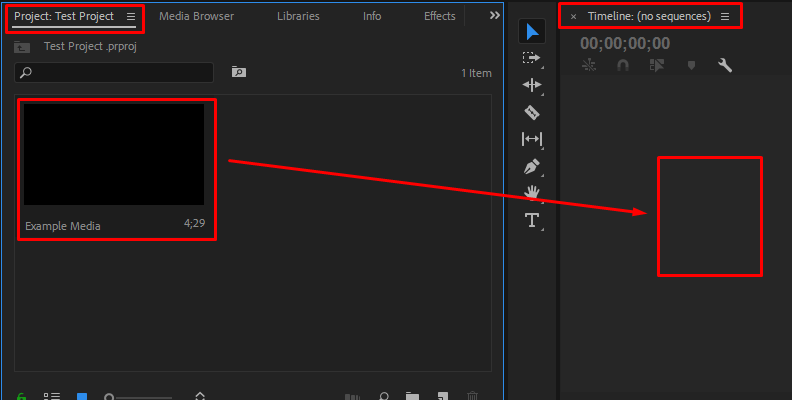
Once you import the files, you need to create a sequence. To do this, simply drag the media you imported from the "Project" tab onto the timeline (sequence) area, as shown in the image below.
Now, there's a video on your timeline that you can edit, including adding effects.
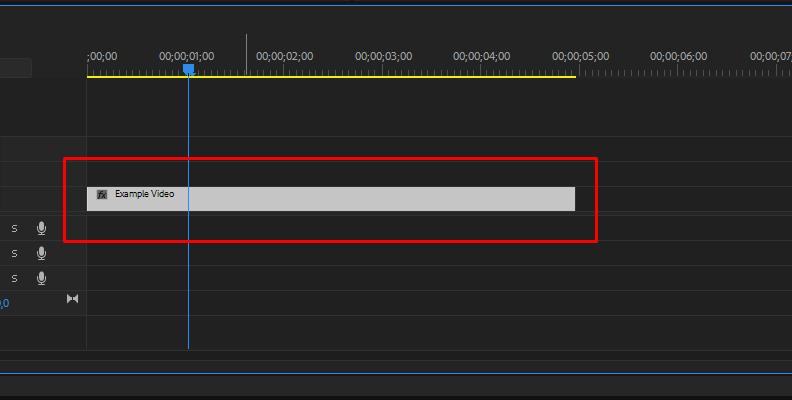
Once you have the video on your timeline, it's time to move on to the next step.
Step 3: Disable View and Add a New Solid Layer
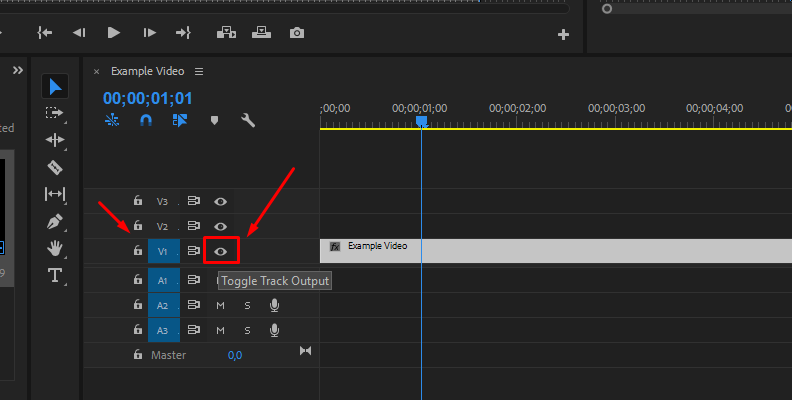
Due to the workflow being slightly different when using BCC Reframer compared to other effects, we'll first need to disable the view of the video we just added to our timeline. You can do this by clicking on the "eye" icon on the video track where your clip is.
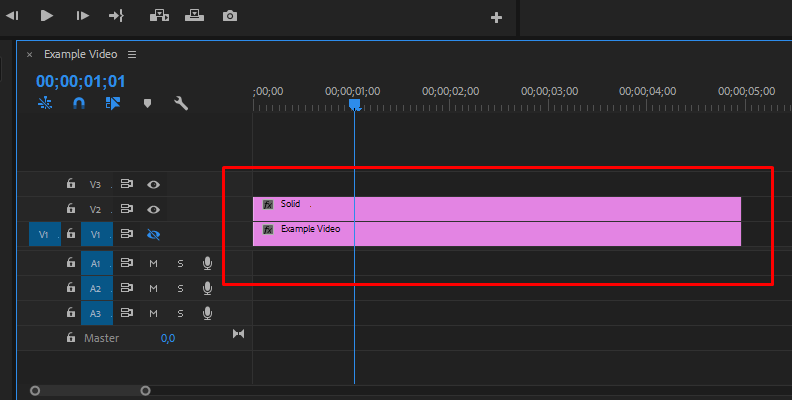
Now, we need to create a solid layer and add one video track above the one where our video is, which in our case would be V2 since our video is on V1.
To do this, go back to the "Project" tab, right-click an empty area, and then choose New Item -> Adjustment Layer or Black Video. It should work with both options.
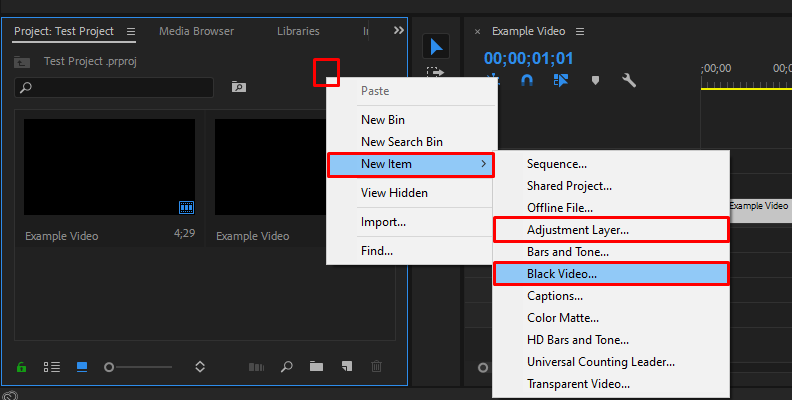
Once you create any of those two, make sure you select the right settings that match the final composition's dimensions and then add one video layer/track above your clip's video layer/track.
When done, it should look like this:
Step 4: Add the BCC Reframer Effect to Your Solid
Now, we usually add the effect to the main video clip/image that we imported, but as mentioned above, with BCC Reframer, the workflow is slightly different. Nothing complicated, though, as all we need to do now is add the effect to the solid that we positioned above our video.
Go to the "Effects" tab and use the search bar to find the BCC Reframer effect. It will be under "BCC Image Restoration", as in the image below.
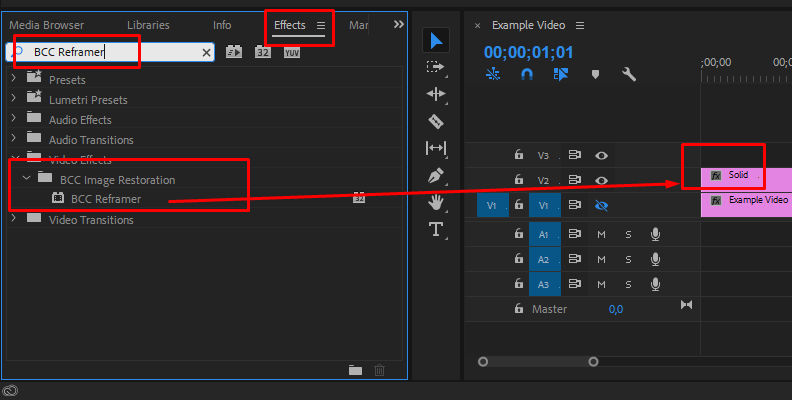
Once you find it, drag it to the Solid we created earlier.
Now, open the "Effect Controls" panel located in the upper-left corner of the screen.
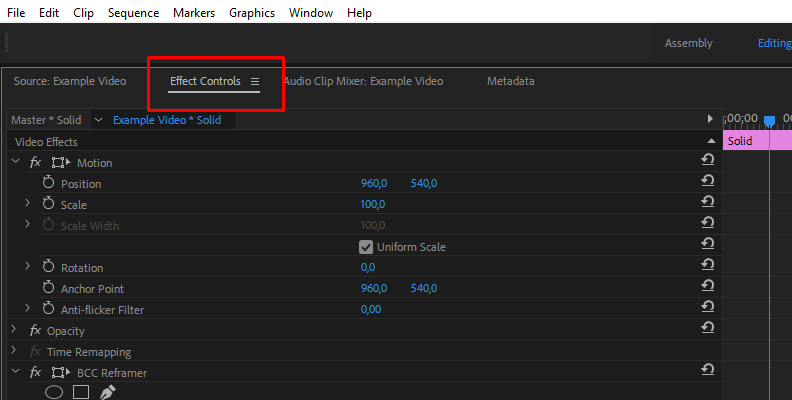
Here, you need to scroll down a bit until you find the "BCC Reframer effect". Once you find it, expand the "Source Setup" settings group and set the Source Layer as the video you imported.
You can use the Interpret Source popup option to rotate videos if they're horizontal.
That's all there's to it!
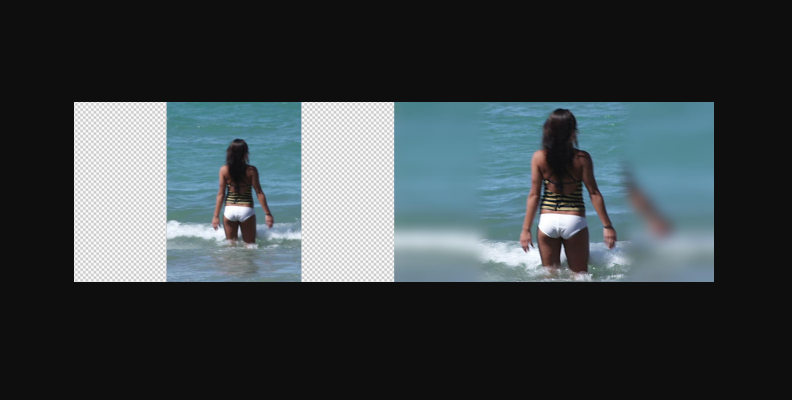
With BCC Reframer you can also change the background to remove the black bars. Simply open the Foreground Setup category and adjust the Crop Source Width to add a blurred area to fill out the background. From there continue with the additional Foreground and Background settings to dial in your look.
Keep in mind that the setup is exactly the same when using After Effects, besides some of the minor differences in the interface regarding the video editing features within the software, like creating sequences, layers, etc.
You can use this to make a portrait video landscape format, which is more watchable on platforms where landscape is the preferred format.
Convert Portrait Video to Landscape by Cropping
To be quick in answering this question, yes, you can convert a portrait video to landscape using any free video editor program by using the crop function. However, this method will involve some loss of quality, as well as loss of information, as you are cutting the top and bottom parts of the vertical video so that it fits in a landscape format.
You can also crop a portrait video and make it landscape online using any crop video tool that you find on the Internet. The only "technical" detail you need to know for this process is what aspect ratio you want the final sequence to be, which is usually 16:9.
In Premiere Pro, for example, you can simply apply the "crop" effect to your video, open the effect controls panel as you did in the previous steps above, and then adjust a few parameters until the video has the required proportions/dimensions/aspect ratio that fits a landscape video frame. That's all there's to it!
Can I Rotate a Video Without Losing Quality?
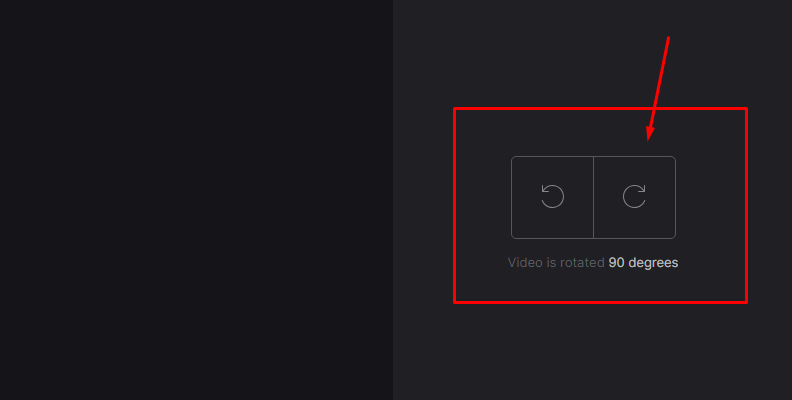
You can easily convert a portrait video to landscape or vice versa using the rotate method. Simply open any video editing tool and start a new project with your desired orientation. Then, use the rotate tool to make your imported video fit that specific frame by rotating it 90 degrees.
You can convert portrait videos online using free tools such as Canva and Clideo into videos that fit a landscape format using the rotate feature. This method won't end up in any quality loss, as you're simply rotating the video without cropping out or modifying any of the pixels/details shown.
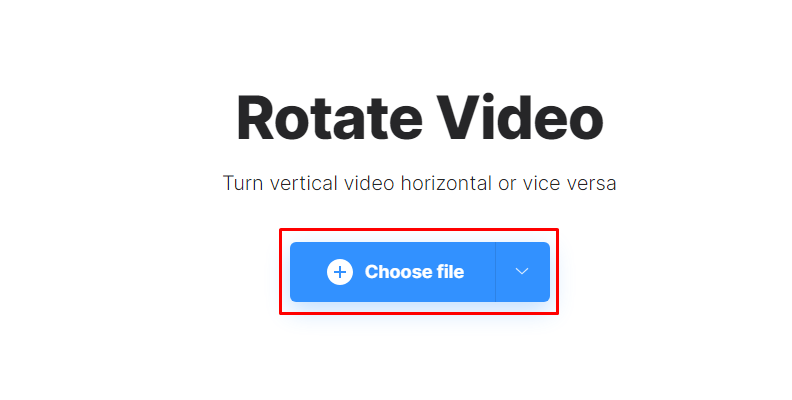
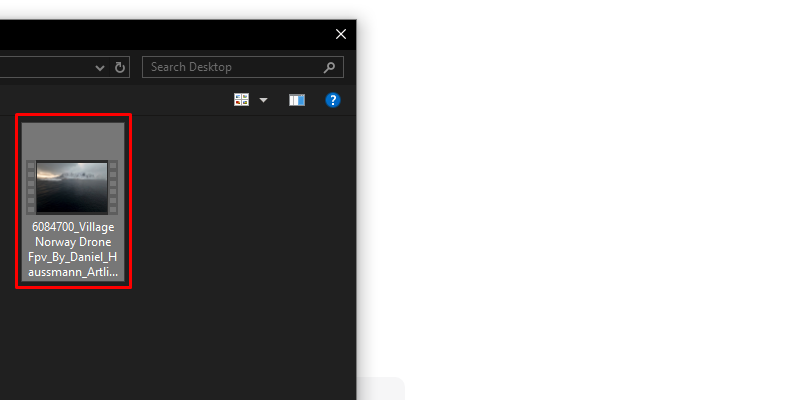
For example, here's how easy it is using Clideo.
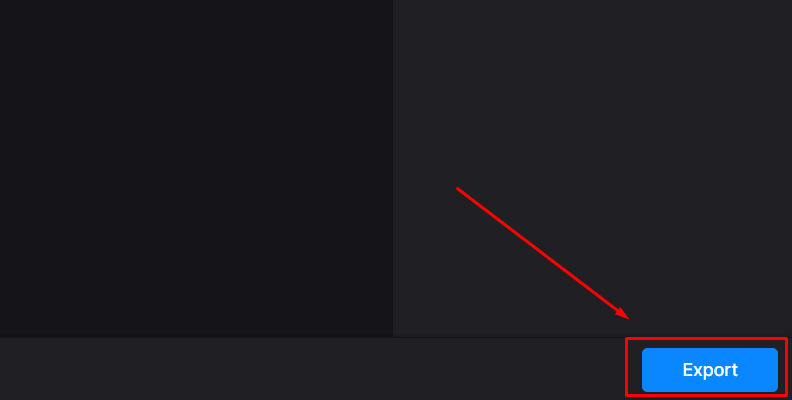

When the export is done, simply save the rotated video to your PC's storage device, and that's all there's to it!
That's how you make a vertical video into a horizontal video online, or vice versa, horizontal video to a video in portrait mode.
Final Words
You don't need a special landscape converter tool to change portrait video settings and make them fit into a landscape video frame, as you can do it using a rotate option or the crop method.
Additionally, you can use our first method of keeping a video vertical but adding a horizontal background of the same video so that it doesn't have black bars on a landscape video platform.
Regardless of what method you choose, we hope this information was helpful to you. Thank you for reading, and best of luck!


