Adobe Premiere Pro is one of the most popular video editing programs offering various features useful to beginners just diving into video editing and advanced creators who've been doing it for a long time.
One of the key elements of video editing is adding text to videos, whether in the form of titles, credits, subtitles, or any other ways that complement the story, such as location names, time during which the events happen, a text messaging sequence, and more.
In this guide, we'll help you learn everything about adding text and titles in Premiere Pro, so if you want to find out more on this topic, you've come to the right place.
Here's what you need to know.
How to Add Text in Premiere Pro
Adobe Premiere Pro CC is a versatile editor. It may not allow for the most complex editing and FX creation like After Effects, but everything it offers is straightforward and user-friendly.
Whether you need to animate text in Premiere Pro, choose titles that are already animated, or seamlessly put together something with a transition, it's an easy task regardless of your skill level.
In Adobe Premiere Pro, adding text can be done in just a few clicks, using the Type Tool from the toolbar that you see left from the timeline panel. Click it once to activate it, and you're ready to go. You can start typing directly onto the video clip within the Program Monitor window.
However, before we dive further into adding text, let's look at the whole process from step one.
If you're already familiar with creating a new project, importing media, and creating a sequence in Premiere Pro, feel free to skip to sections #3 and #4, where we focus solely on adding and modifying text.
Creating a Project and Importing Media
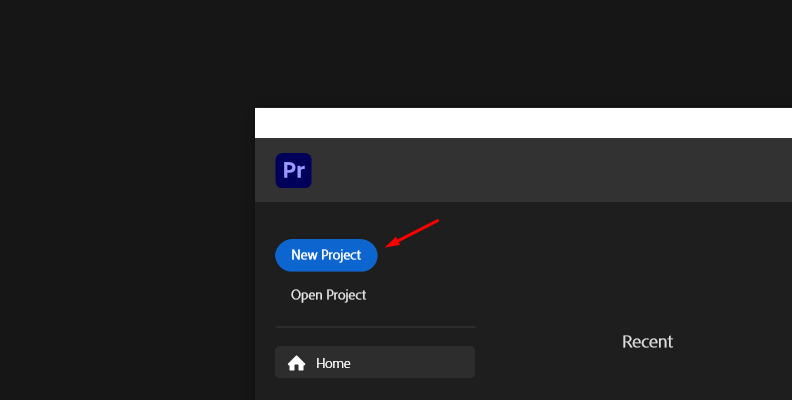
When you first launch Adobe Premiere Pro, you will be greeted by the home screen. Here, you can choose to create a new project. Click the blue button as shown in the image below, name your project, pick the optimal settings, and enter the software.
Once you're in the editor, you'll need to import media to start working on. Go to the "Project" tab and click the blue "Import" button. Find the media you want to import on your computer's disk and finalize the process.
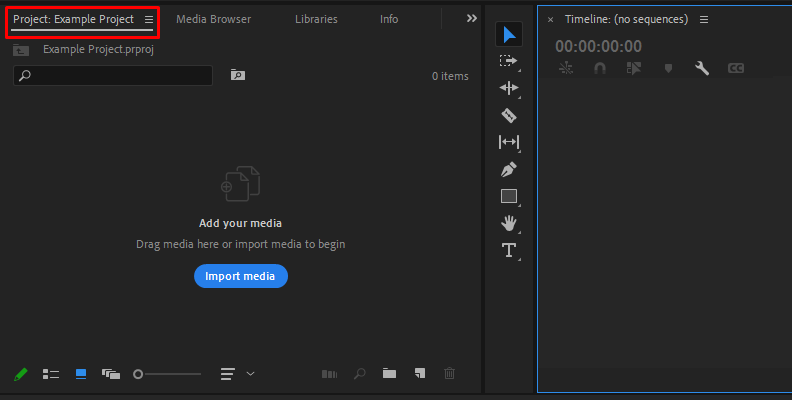
Find the media you want to import on your computer's disk and finalize the process.
Creating a Timeline (Sequence) of Imported Media
You'll notice that on the timeline panel, in the upper left corner, it says "no sequences" since we haven't placed anything there yet.
To change this, we need to drag and drop the video clip we just imported onto the timeline area to create a sequence of it.
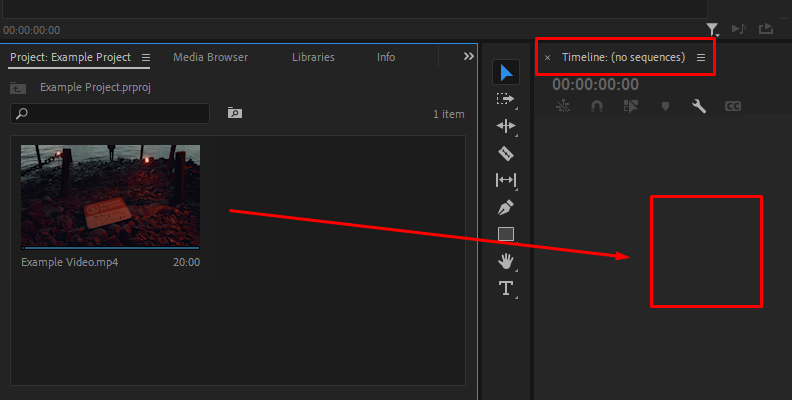
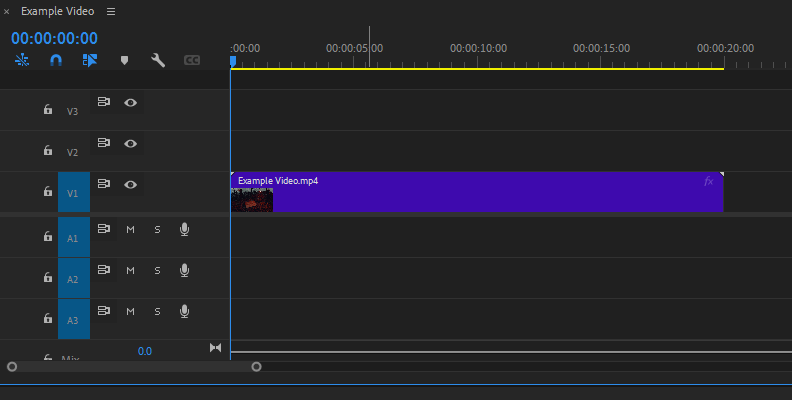
Now, the video should be on our timeline, placed on its video track, and ready to be edited.
Using the Text Tool to Add Text to Your Video Clips
It's time to use the type tool, or as some would like to call it, the text tool, to generate our desired text.
The shortcut for the type tool is "T" on your keyboard. Use the shortcut or click on the type tool icon with your mouse cursor to activate it. It's located just left of the timeline area as shown in the image below.
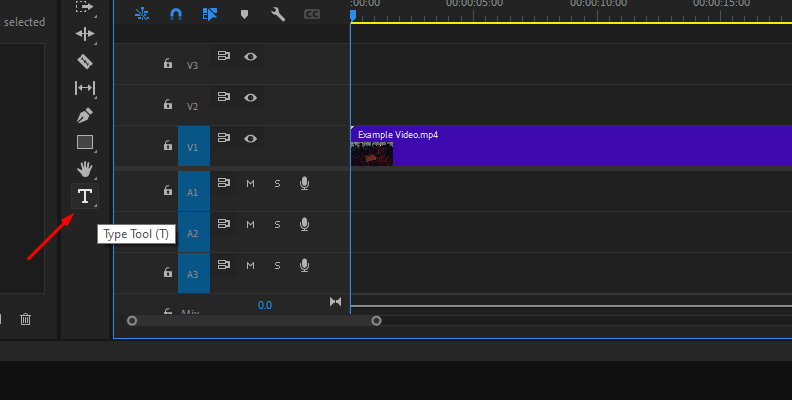
You'll know the type tool is activated when the icon turns blue.
Now, head over to the program monitor panel with your cursor and click anywhere on your video where you want the text to appear within the shot. By default, the play head will be set at the beginning of the clip.
You'll need to position the play head to a specific frame of your video first if you want the text further into the shot so that you can see that particular frame in the program monitor panel and add text to it.
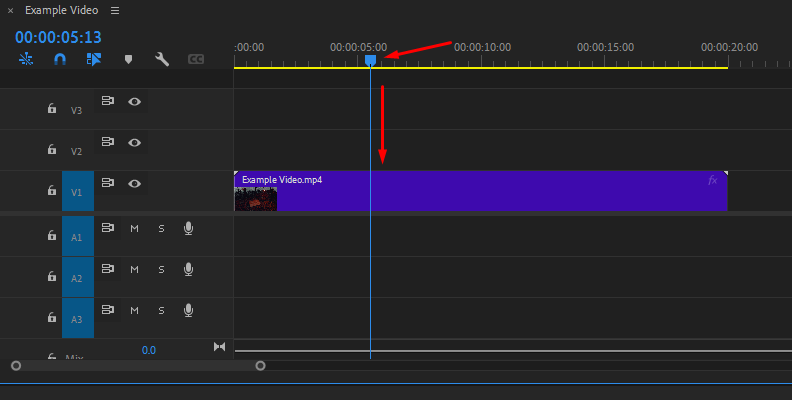
Upon skipping to the desired frame, click the spot within the program panel where you want the text to be on the screen and type something. You can change what you wrote later and the text's position, too.
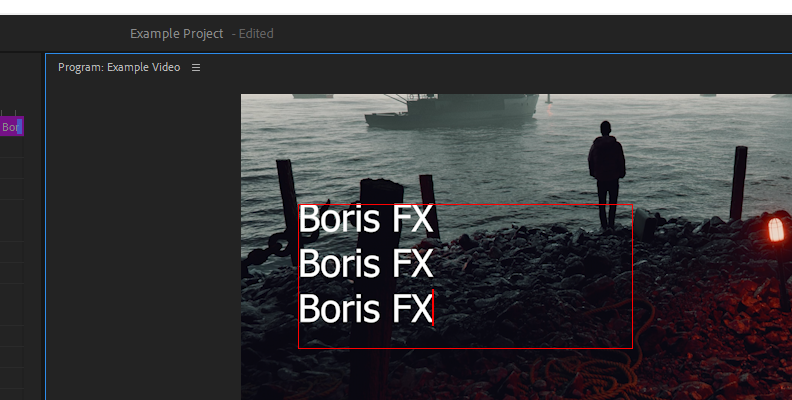
Once you're done typing, press "Enter" and click away from the program monitor panel to "deselect" the text box. You'll now notice a new video track is created above your main video clip, starting at the exact frame where you skipped to type something.
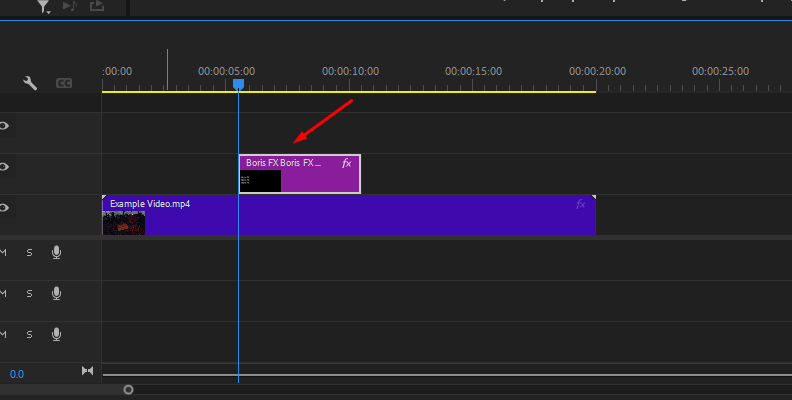
We can treat this video track like any other, meaning we can cut it short, extend it, add a transition effect, and more.
Modifying the Text and Adding Transitions/Effects
To modify the text we just created, we need to select the text video track by clicking on it, then either open the effect controls panel or the essential graphics panel.
Let's start with the Essential Graphics panel first.
In Premiere Pro, go to "Window" -> "Essential Graphics" to activate it.
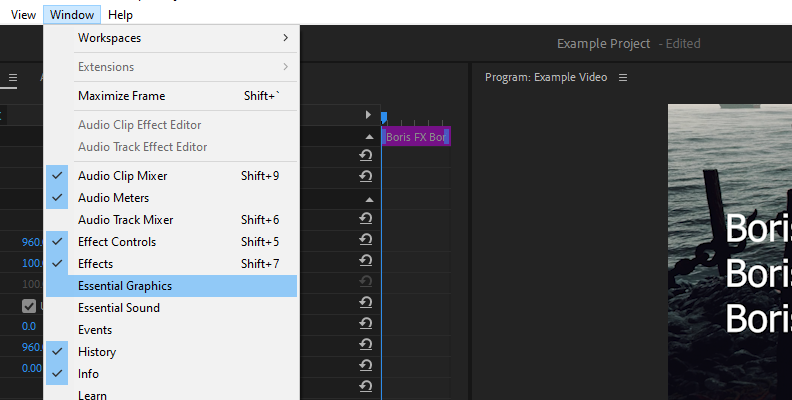
The panel will show on the right side of your editor. Click on the "Edit" tab and then on the text you created, as shown in the image below.
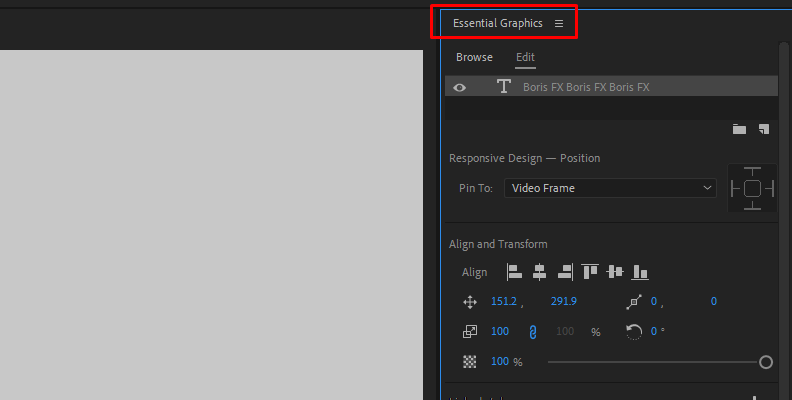
Now, you can change the text style, size, and color, or, change to a completely custom font. You can click on the "Browse" tab to open it and scroll down through multiple templates you can use. Here, you can find pre-made title templates, lower thirds, intros, background loops, and more.
Once you find a motion graphics template you like, you can choose to use it as is, only changing the default text. Alternatively, you can modify it further by dragging it to your timeline and clicking on it, then changing the settings in the "Edit" tab on the right.
Your next option is the effect controls panel. This panel is available for every video within your timeline. So, click the video, in this case, the video that appeared when you created the text, and head over to the upper-left corner to click and open the Effects Control panel.
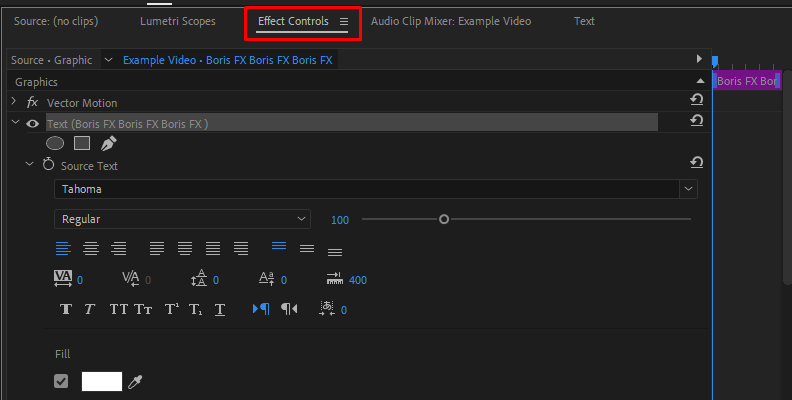
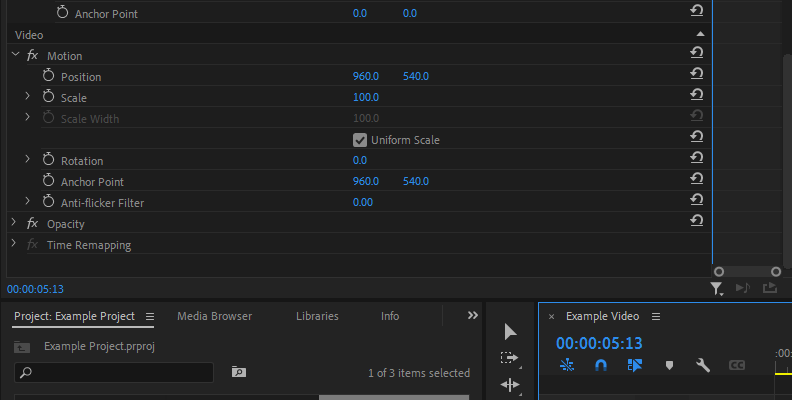
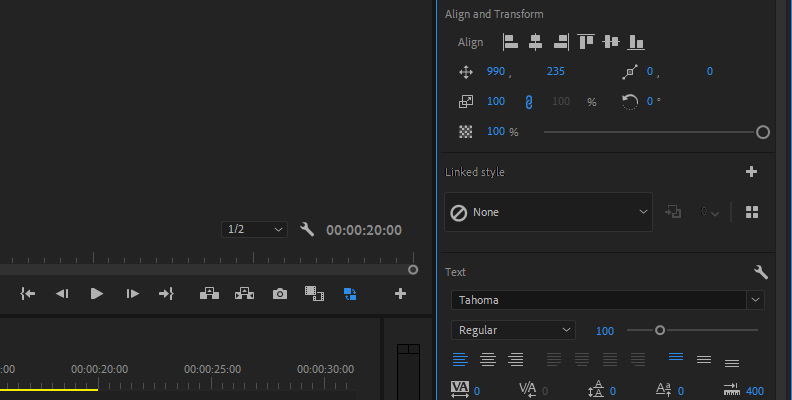
You can expand the "Text" group and click on the drop-down font menu to change the font and adjust things like size, alignment, and color, or you can scroll down and expand the "Motion" group to adjust the animate position, scale, and more.
Add Text in Premiere Pro with Boris FX Title Studio
Despite Premiere Pro offering all required options for adding text to your videos in Premiere Pro, there are plug-ins that help simplify and improve the overall user experience even further, as well as offer more options, customization, and more.
One of those plug-ins is Continuum by Boris FX. This pack is available for all popular video editor programs. It features hundreds of effects, transitions, presets, tools, and everything else you need to take your editing work to the next level.
Continuum has a tool called Title Studio. We’ll use it to add text in Premiere Pro.
Title Studio is listed as an effect in Adobe Premiere Pro, assuming you have the Continuum pack installed. Click on the "Effects" tab and use the search bar to type in "Title Studio".
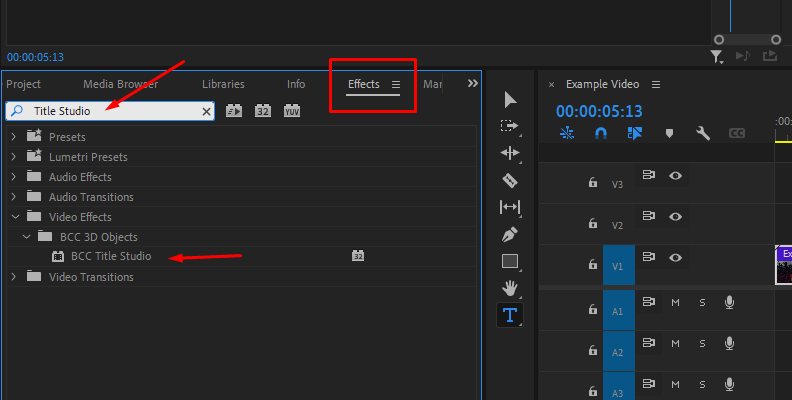
Upon locating the effect, drag and drop it over your video.
Now, click on the video and access the effects control panel in the top-left corner. Here, you can find the BCC Title Studio effect and click on "FX Browser" as shown in the image below. This will open the long list of titles, graphics, text overlays, font styles, and more offered by Title Studio.
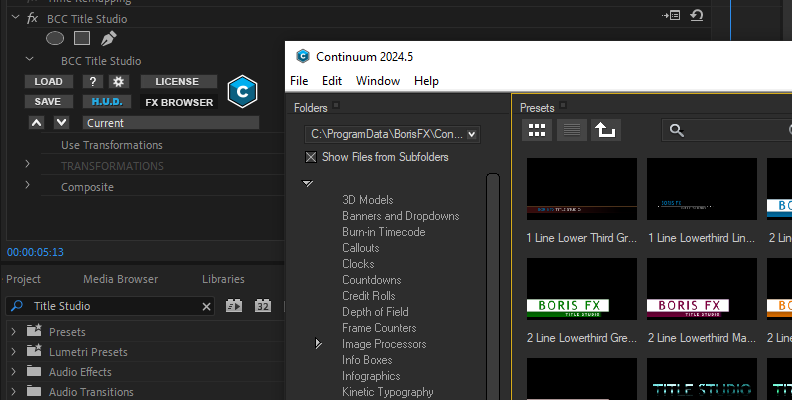
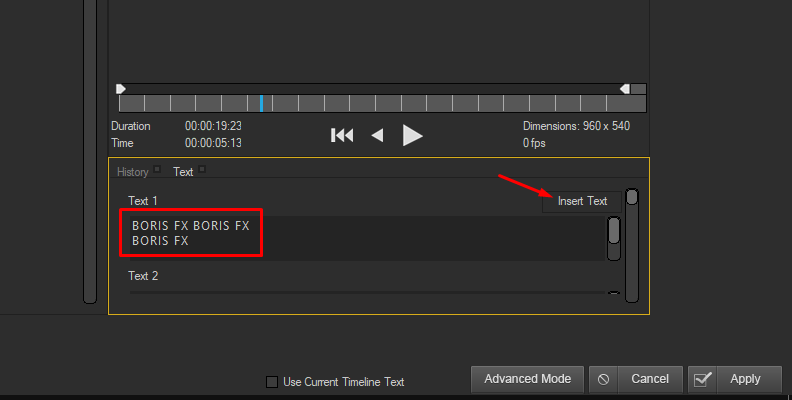
From here, all you need to do is choose what suits your project most, then edit the text and press "Apply" at the bottom right-hand corner.
For more information about Title Studio's functionality and features, take a look at the official BCC Title Studio page.
How to Add Titles in Premiere Pro Using Captions and Graphics
Adding captions, titles, rolling credits, or subtitles in Adobe Premiere Pro is easy. You can use one of the two methods we showcased in the previous sections, the Type/Text Tool, and the Essential Graphics panel.
When it comes to adding text in Adobe Premiere, the approach is mostly the same for any type of written material, the only difference would be based on what you're adding, which will decide things such as font style, font options, size, color, and positioning.
You would add a movie title the same way you would add a subtitle is what we're trying to say. The main benefit of using Adobe software is you can also access all Adobe Fonts and find something that matches your video creation goal for your specific project.
If you want to add a lot of captions and subtitles though, we suggest using the caption editor feature in Premiere Pro, as it is specialized to make the whole process quite simple compared to the other two previously-mentioned methods. To do this, go to "Window" -> "Workspaces" -> "Captions and Graphics".
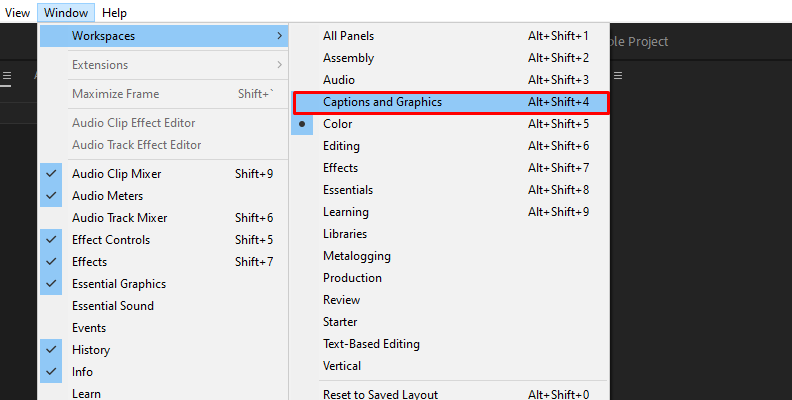
This will open the "Text" panel in which you can access the Captions editor and start creating.
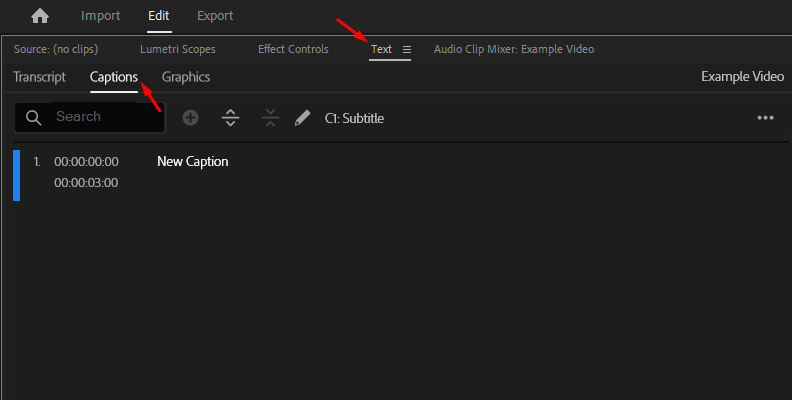
From here, all you need to do is click on the circle with the "plus" sign to create a new caption track and add the captions. There's also an option to import captions.
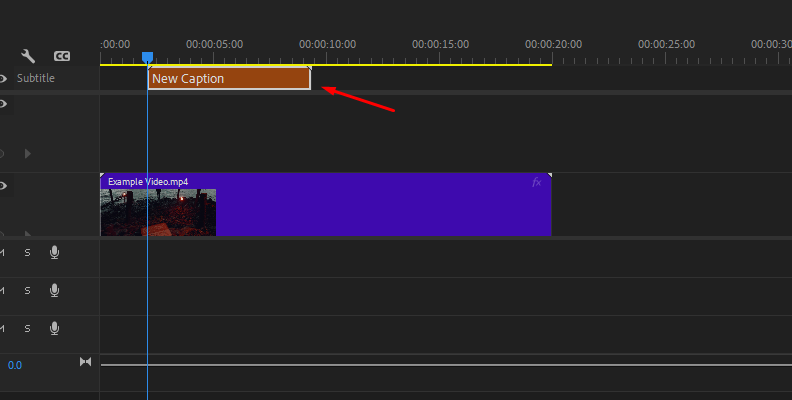
The captions you create using the captions editor will be placed on a separate "subtitles" track on your timeline above the video tracks.
How to Create Text Templates in Premiere Pro
You can create text templates in Adobe Premiere Pro so that you can use the same style across various projects without having to go through the whole process from scratch each time.
To do this, open the Essential Graphics panel and click the "new layer" button. Choose "Text" from the list of options.
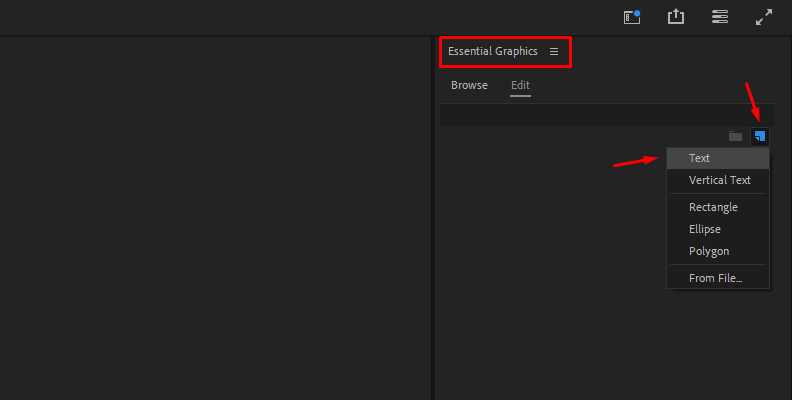
Now, type in your desired text directly into the program monitor window.
In the Essential Graphics panel, style your text elements, choose the look you prefer, font size, style, and everything else that you want to customize.
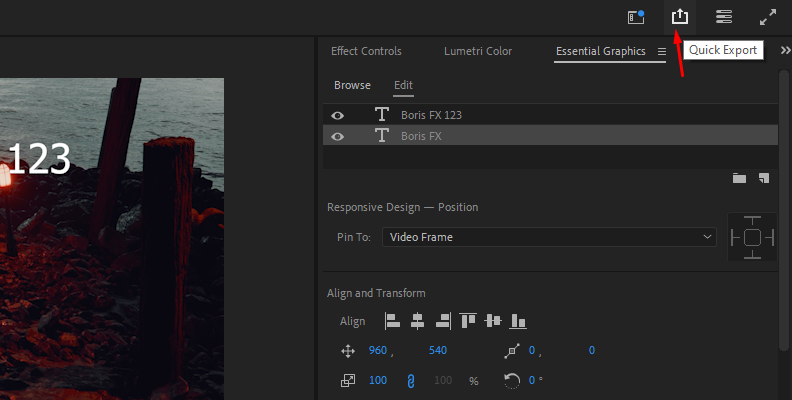
When done, simply click on the export button in the top-right corner of the essential graphics panel and export your motion graphics template.
Next time you require this template, you can just load it from the "My Templates" button in the essential graphics panel.
Final Words
That's all you need to know about adding various forms of text in Adobe Premiere Pro, including captions, titles, subtitles, and other types of graphics.
Hopefully, this will help you with all future work, as knowing how to properly add text to your videos will speed up your workflow noticeably.
We thank you for reading and wish you the best of luck!


