


Titles can be used for more than just displaying text or information on screen. They can also serve as credits, make content accessible, create identity, and draw your viewers' attention with eye-catching graphics. Think of memorable opening title sequences in films such as Star Wars, Se7en, Panic Room, and Superman. Wouldn’t it be awesome if you could learn to do something on that level?
Today, we’ll explore text animation in Premiere Pro to help you begin with the basics. Then I’ll show you how to add text with effects using the more advanced plugin Title Studio to create more unique, cinematic titles for your videos.
Let’s dive in!
How to Add Text Animation in Premiere Pro in 7 Steps

Let’s begin this tutorial with the tools that Premiere Pro includes by default.
Step 1: Add Text
We first need to create a new project.
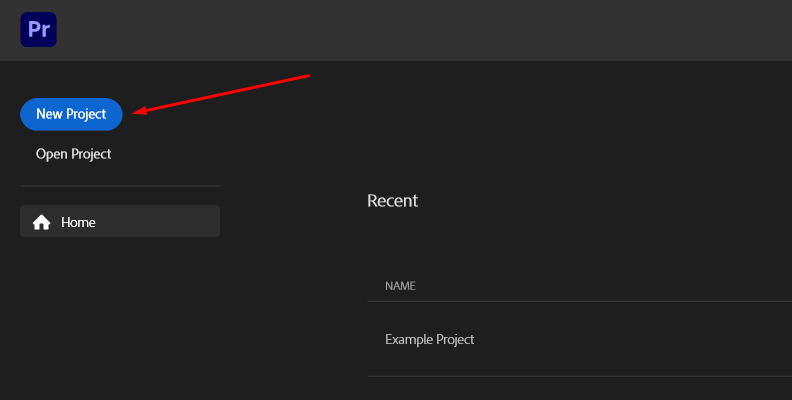
You can also use an existing project. Simply click the "Open Project" option instead.
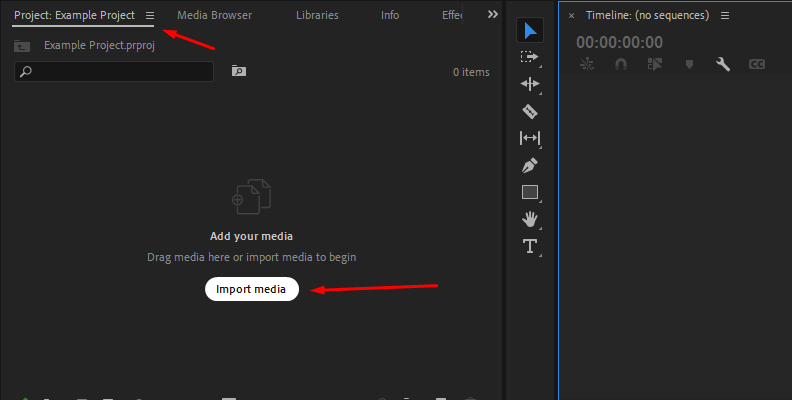
Next, we need to import media if it's a new project.
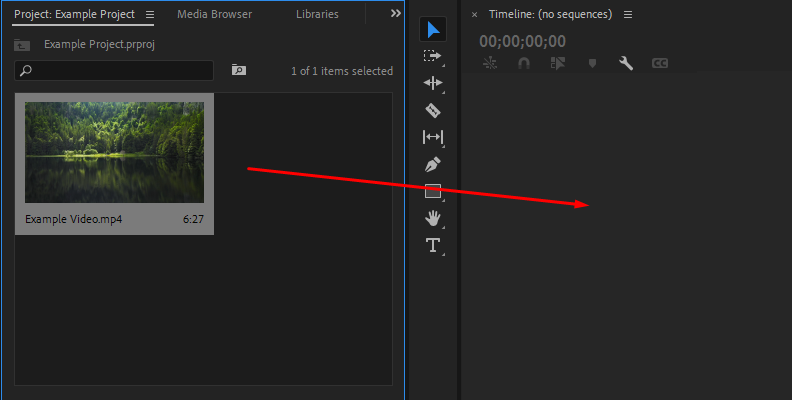
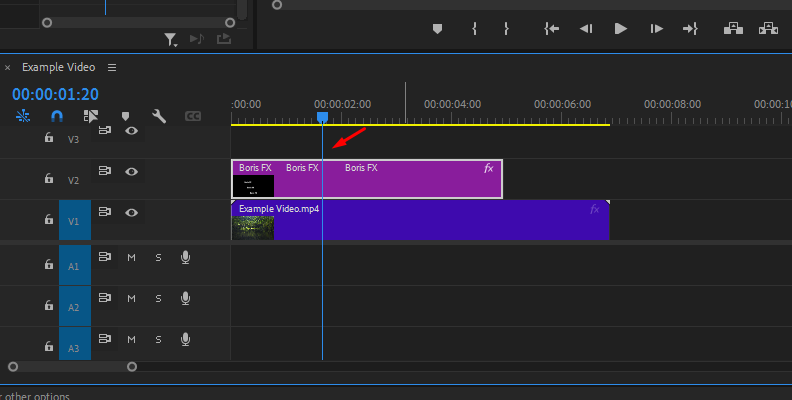
Then, we need to create a timeline (sequence) by dragging and dropping a video from the "Project" tab onto the timeline.
Now we can get to adding text.
Start by adding simple text to your video with the Type Tool. Press T or click the T icon to select it, then click on the preview video to create a text box.
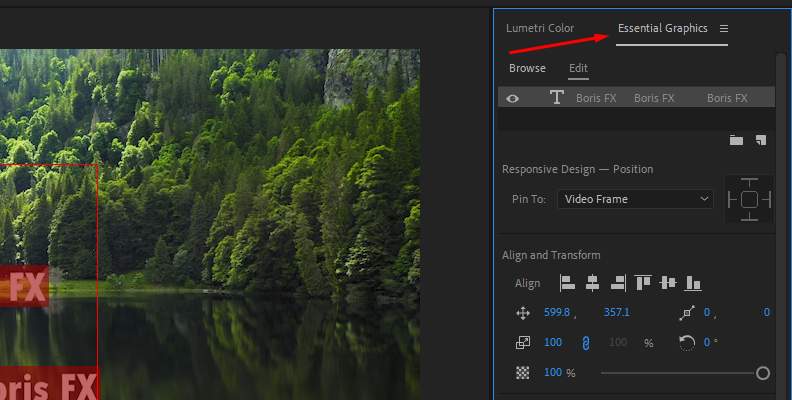
To edit the text, delete the default text, type your desired title, and adjust the font style, color, size, and position using the Effects Control panel or the Essential Graphics panel.
Step 2: Explore Templates
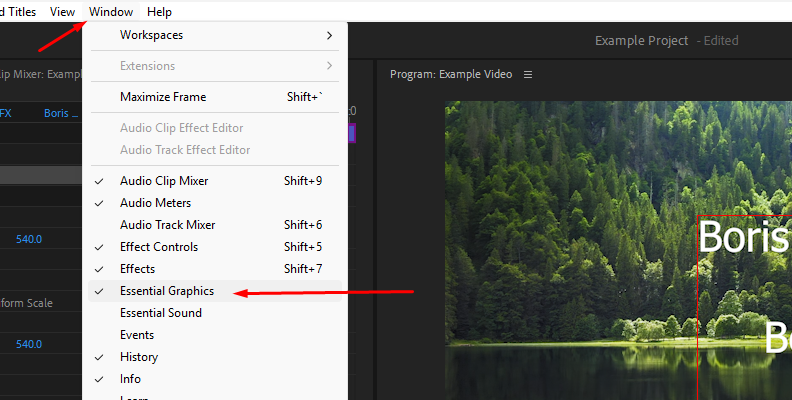
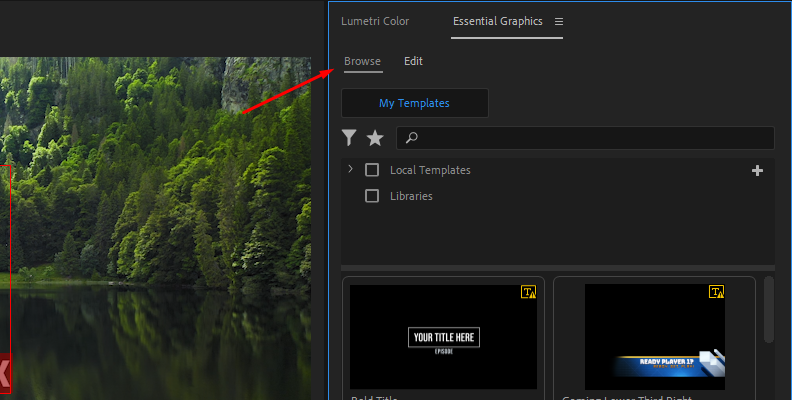
Adobe Premiere Pro includes preinstalled templates you can explore to add effects to your text layers quickly. It’s a good way for beginners to learn how titles are created. To find the template browser, go to the Essential Graphics Panel and click the Browser button.
Find a template with an effect and style you like, then drag and drop it into your timeline above the video you want it to display. You can edit the text in the template by double-clicking on it. Then, in the Essential Graphics panel, you can customize the text font, color, size, and shapes to suit your video. Finally, use the Transform settings to change its positions, size, and orientation.
Step 3: Add Shapes and Other Graphics
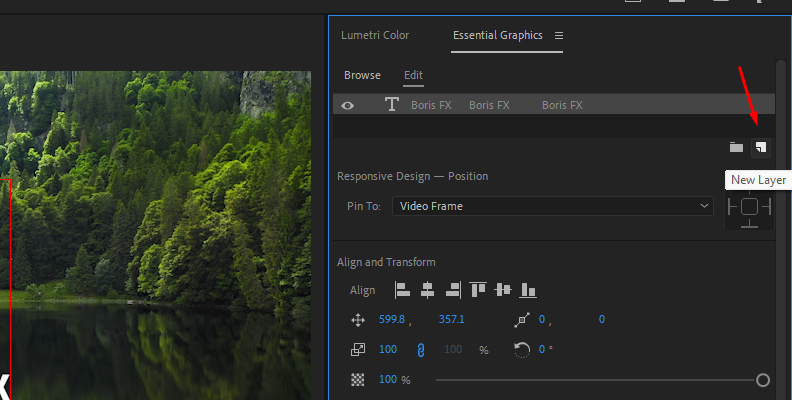
You can add more text and shapes from the Essential Graphics panel. Click the “New Layer” button in the Edit tab (below your text layers) and select among regular text, vertical text, a rectangle, or an ellipse. Shapes can be used as backgrounds for your text, to create lines, and for other graphics to make your text more attractive.
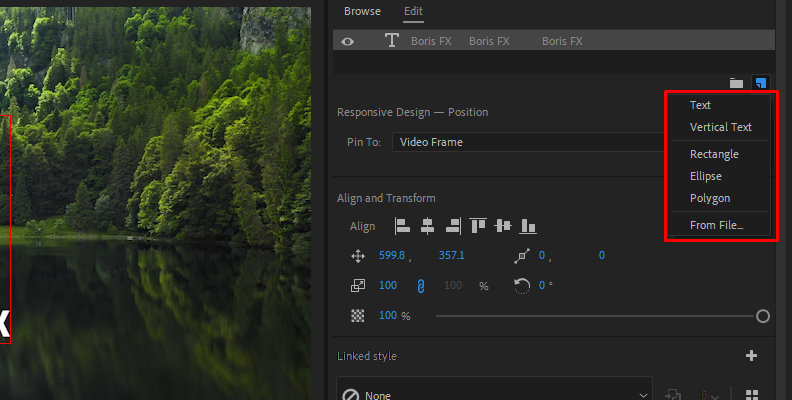
You can link a shape and text by selecting them in the Essential Graphics panel, then under “Responsive Design," choose the “Pin To” dropdown menu and select the layer you want to link that shape or text layer.
Step 4: Animate the Text Manually
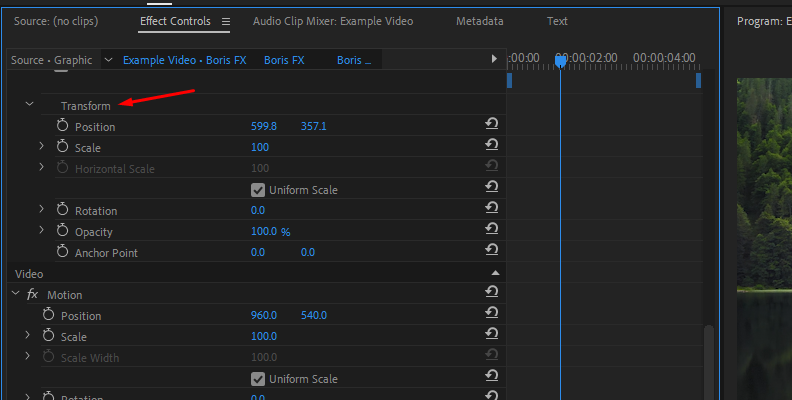
If you want to create the animation effects manually, let’s use keyframes. These work the same way as with other video effects in Adobe Premiere Pro. First, go to the Effects Control panel and select the graphic you want to animate first. Click the dropdown arrow to display the Transform options to begin adding keyframes.
You can animate any of the Transform parameters to add movement: Position, Scale, Rotation, and Opacity. Begin by moving the playhead to the timestamp where you want your animation to begin, go to the parameter you want to animate in the Effects Control panel, and add the first keyframe by pressing the stopwatch icon next to the parameter.
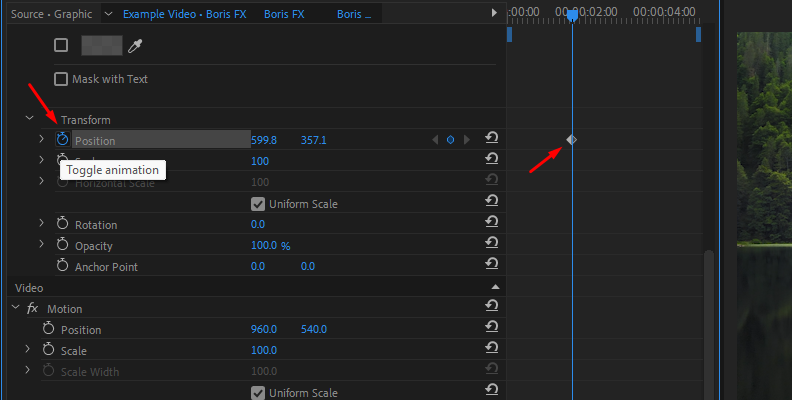
Move the playhead to where you want the animation to start, then adjust the parameter's values. You can add additional keyframes to make the animation smoother.
Step 5: Edit Keyframes
Edit keyframes by clicking the parameter dropdown arrow to display the curve. Next, drag the Keyframe Box to the right to have a better view of the curve.
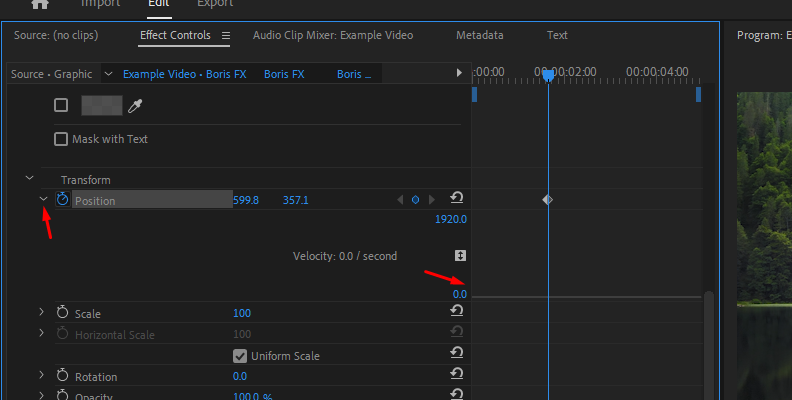
You can click a keyframe and drag it along the timeline to speed up or slow down the animation. The curve lets you fine-tune the animation's velocity by using the Bezier handles.
Step 6: Add Flair and Other Effects
Additionally, you can use video transitions to make the text dissolve. Look for a video effect in the Premiere Pro Effects browser and drag it to the title clip on the timeline. A few examples you can experiment with include dissolve transitions, fades, glows, drop shadow, gaussian blur, and distortion effects like turbulent displace. Also, you can use masks and shapes to add backgrounds and to hide or reveal the text.
By playing and experimenting with the tools and effects, you’ll find something you like, and your creativity will improve. Don't worry if you don’t get titles like your favorite movies right away; keep practicing, and you’ll slowly start to understand how everything works together.
Step 7: Save Titles as a Template
Make sure everything is within the same text layer on the timeline. Right-click and select “Export As Motion Graphics Template,” name the template, and click OK. Your new template will be available under the Browser button in the Essential Graphics panel.
How to Add Effects to Text in Premiere Pro Using Continuum Title Studio

If you’re looking for a way to simplify and take your text and titles to the next level, Title Studio is for you. Title Studio is a plugin and standalone application included with Boris FX Continuum that enables quick, easy creation of 2D and 3D titles and motion graphics in Adobe Premiere Pro.
First, make sure you have installed Continuum for Adobe Premiere Pro, or download a free trial from the Boris FX Website, to follow this tutorial. Once you download the Boris FX Hub app, select Continuum for Premiere Pro from the products list and install it. Then, launch it to activate the trial mode.
Step 1: Add Title Studio
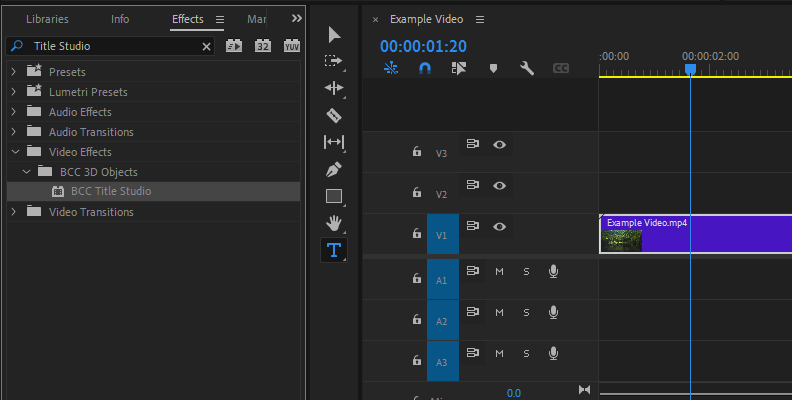
Open the video project and select the video clip in the timeline where you want to add text, and go to the Effects panel to search for "Title Studio". Drag and drop the effect to the video to apply it.
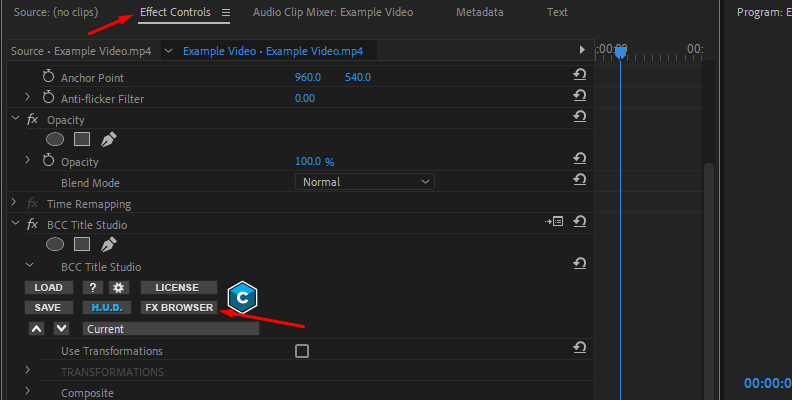
Now, proceed to the Effects Controls panel and click the “FX Browser” button to explore the preinstalled presets.
Step 2: Title Studio Presets
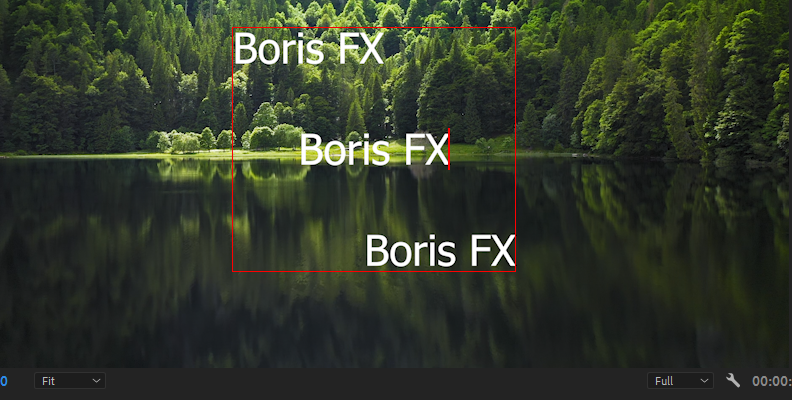
In the FX Browser, you will find static and pre-animated titles, graphics, credit rolls, lower thirds, motion titles, callouts, sidebars, and more. Select a category from the left panel, choose a preset, and edit the text.
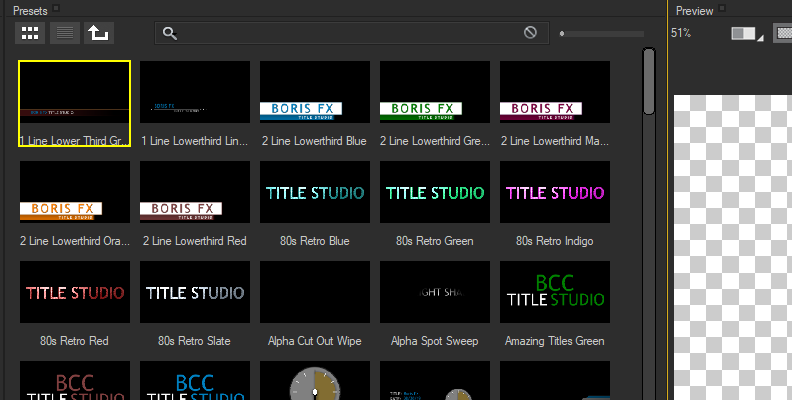
Don’t forget to press the “Insert Text” button above the text box to apply the new text.
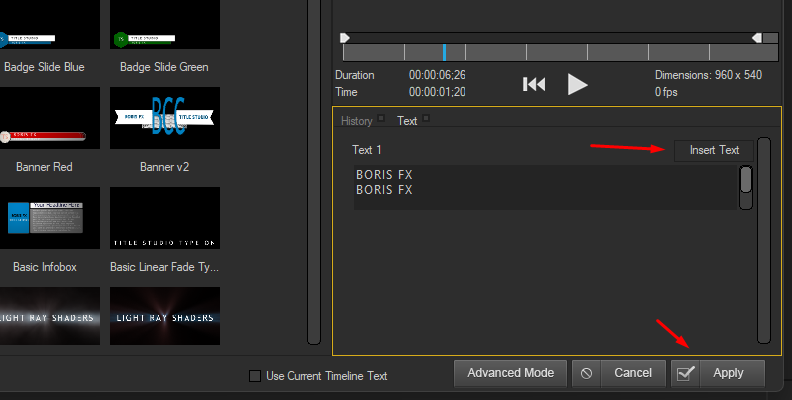
Preview the title and click Apply to exit the FX Browser. Presets are an easy way to see what kind of text effects you can make with Title Studio.
Step 3: Customize Your Titles
If you want to modify a preset or create a title from square one, launch the Title Studio UI.

Add text and shapes using the toolbar at the center. The new graphics will be added as layers in the layer panel (located in the bottom-left corner). Above the layers panel is the Controls Window, where you can edit the text, change the color, font type, and more.
Step 4: Animate Text
To animate the titles, enable the animations in Premiere Pro using the key icon among the playback controls. Choose the text layer to animate, move the playhead to where you want to add the first keyframes, and make changes to parameters from the Controls Window. Continue moving the playhead and adding keyframes to create the animation you want. Once you finish, don’t forget to turn off the Animate by clicking the Key icon again. Click Apply to exit Title Studio UI.

After Effects for Titles in Premiere Pro
After Effects and Premiere Pro can work together seamlessly. With After Effects being a powerhouse for visual effects, it can be your secret weapon to overcome Premiere Pro’s limitations when it comes to creating cinematic titles.
There are two ways you can use After Effects to create titles in Premiere Pro. The first one is using the Adobe Dynamic Link feature, which lets you create and edit in After Effects and update in Premiere Pro instantly, without jumping between programs or waiting for render times and consuming disk space.
Go to File in Premiere Pro and select Dynamic Link > New After Effects Composition. You can also right-click the text layer in the timeline and choose Replace with After Effects Composition.
After Effects will launch and create a new linked composition. Make sure the composition settings match those of the original project in Premiere Pro.
Create a title using After Effects tools. Start by using the text tool, animate it, and add effects.
Adjust the composition duration.
Save the After Effects composition and return to Premiere Pro.
Your title composition will appear in the timeline, replacing the original clip.
Final Words
Premiere Pro is a wonderful tool for editing video that lets you create and add effects to text to create animated titles. If you want to take the next step and enhance your titles with more advanced features, try Boris FX Titles Studio, part of the Continuum plugin, which comes packed with hundreds of effects and presets.
It can feel a bit overwhelming the first time you use it, but rest assured, with time and practice, even beginners can start small and gradually achieve stunning effects. Start with simple text animations, and soon you’ll build up to more advanced techniques as you discover your own creative style.
Good luck!


