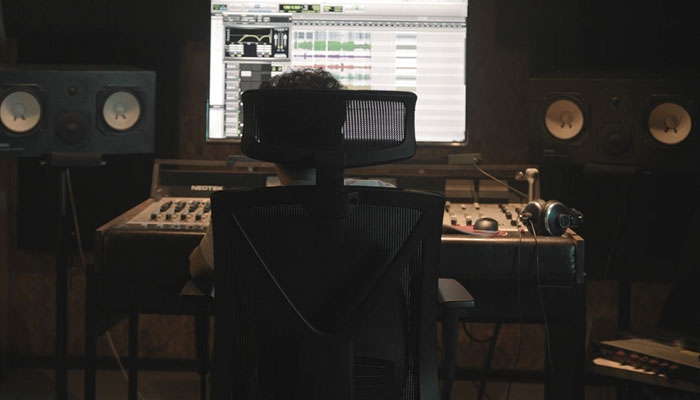
Simulating a specific look for your video project using editing effects and filters is a popular approach to achieving a goal while cutting costs.
We're all already aware of how costly filming can be and how important simulating is in some scenarios, rather than relying on the real thing.
Luckily, modern editing software and plug-ins allow us to create very realistic simulations of certain effects that would otherwise be impossible to achieve due to budget requirements, especially in student and enthusiast amateur projects.
In this guide, we'll talk about the night vision effect, what it is, why you might need it, and how to create it artificially when the budget doesn't allow for using real night vision gear. If you're willing to learn more, feel free to keep reading.
Switch off the lights, and let's get into it!
What Is Night Vision and Why Do I Need This Effect in My Video?
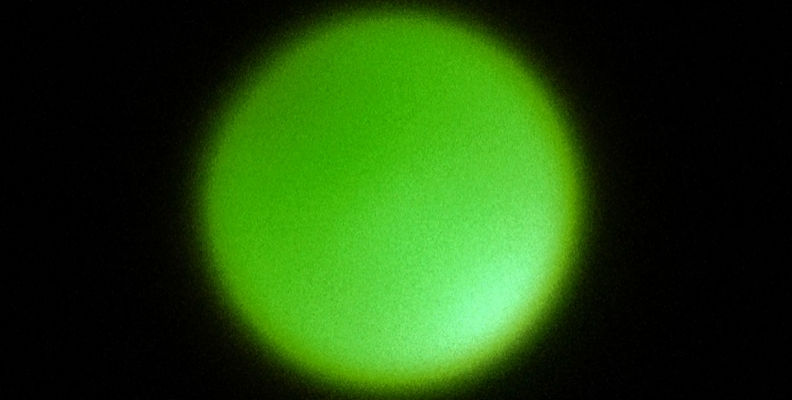
The night vision effect is a visual technique used in films, videos, and games to simulate the appearance of seeing in low-light or dark environments. It typically features a green or monochromatic tint, grainy texture, and heightened contrast, mimicking how real night-vision devices (like goggles or cameras) display images.
This visual effect often includes elements like glowing eyes, amplified light sources, and blurred or distorted edges to enhance the realism. It's commonly used in scenes involving surveillance, military operations, or covert activities, adding suspense, a sense of danger, or technological emphasis to the visual storytelling.
Before we get into creating the effect, here are some ways your photo or video may benefit from adding this effect.
Enhancing Storytelling or Mood
- Suspense or Tension: Night vision often evokes a sense of suspense or danger, commonly used in thrillers, horror, and action films. The grainy, monochromatic visuals suggest surveillance, covert operations, or someone stalking another subject/person, enhancing a feeling of secrecy, stealth, and, as mentioned above, suspense and danger.
A very well-known example of this is The Silence Of The Lambs, a legendary film in which there's a scene where the main villain "Buffalo Bill" stalks Agent Clarice using NVG goggles. - Realism in Night Settings: If the scene is meant to take place in the dark, and natural brightness is limited, a night vision effect can make it feel more authentic without needing elaborate lighting setups.
- Suspense or Tension: Night vision often evokes a sense of suspense or danger, commonly used in thrillers, horror, and action films. The grainy, monochromatic visuals suggest surveillance, covert operations, or someone stalking another subject/person, enhancing a feeling of secrecy, stealth, and, as mentioned above, suspense and danger.
Simulating Technology
- Military or Surveillance Themes: Night vision is often associated with military operations, law enforcement, or espionage. Adding this effect can align the visual aesthetic with these themes, making it seem as though the characters are using specialized equipment to navigate in darkness or as if the shot was from the perspective of a camera with night vision capability.
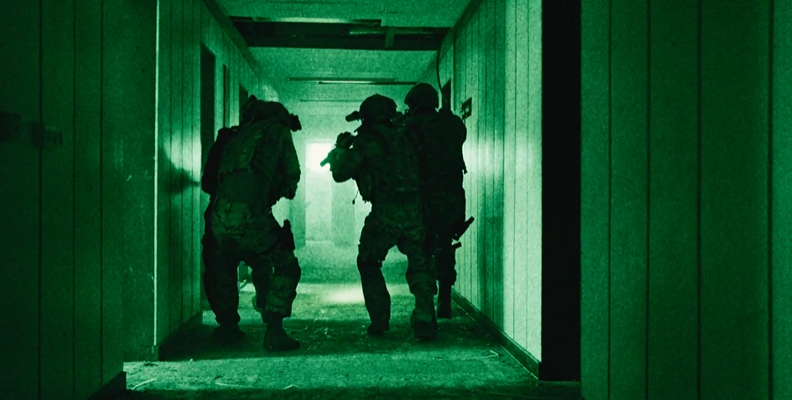
- First-Person Perspectives (POV): Using a night vision effect can simulate the viewpoint of someone wearing night-vision goggles, such as a special operator, placing the viewer in the character's shoes.
Artistic and Stylistic Choices
- Unique Visual Style: The grainy, green-tinted visuals of night vision can give a project a distinct look. Some filmmakers or video creators might use it for stylistic purposes, offering a break from traditional cinematic visuals. One good example, though a video game and not a film, is the horror game Outlast, known for the night vision look provided by the camcorder that the player must use as a main mechanic throughout the whole story.
- Experimental or Sci-Fi Vibes: Night vision can be a good fit for futuristic or experimental projects, especially when blending different visual styles to convey altered states of perception or technology. Night vision is so appealing that even in survival/crafting games such as Minecraft, there's a way to achieve the night vision status effect so you can see in an environment with zero brightness. Many other video games allow for such status effects, as seeing in the dark is just an appealing concept to us since it's like a superhuman ability.
Budgetary Constraints
- Avoiding Complex Lighting Setups: Instead of shooting in total darkness and relying on complex lighting to make the scene visible, the night vision effect allows creators to simulate low-light conditions without significant adjustments to the actual lighting environment. For those that don't know, purchasing actual night vision gear costs dozens of thousands of dollars minimum, and that's for a single person.
That said, let's take a look at how you can create a night vision effect for your image or video that will look good on the screen and further immerse the viewers into your content.
How to Create Night Vision Effect with BCC+ Night Vision
In this section, we'll be showing you how to create a night vision effect that mimics the real use of equipment that lets you see in the night.
For this goal, we'll be using the BCC+ Night Vision effect that's part of the Continuum by Boris FX.
Continuum is a collection of hundreds of effects, transitions, filters, and everything else you may need as a video or photo editing tool to make your work more interesting. Continuum is available to download for free as a trial version. It is also compatible with all popular video editing programs, meaning you don't have to change your familiar working environment to take advantage of what the pack offers.

That said, we'll be using Premiere Pro as our host of choice, and since it allows editing both videos and pictures, you'll be able to follow the same steps to create this effect both for a photography and video file.
Here's what you need to do:
Create a New Project and Import Media
The first step is to launch Premiere Pro and create a new project. We recommend a new project so that you don't accidentally save any unwanted changes to an edit already in progress in an ongoing project.
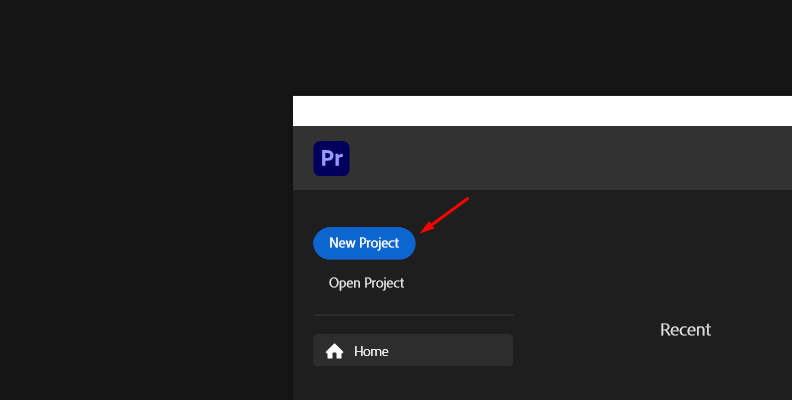
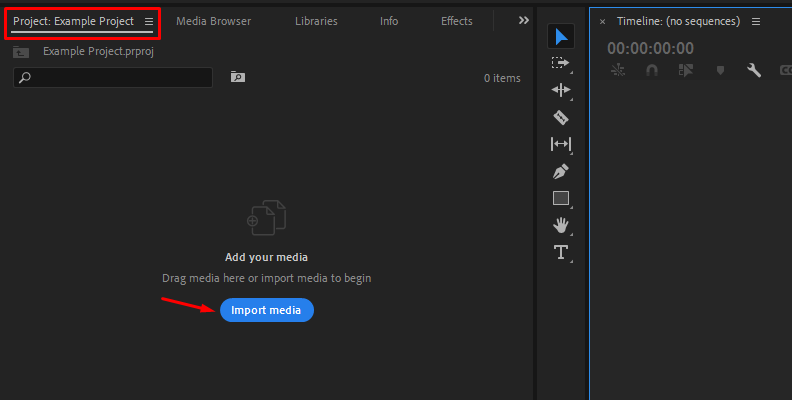
After you create a new project, you need to import media. Head over to the "Project" tab on the left side and click the blue "Import media" button. Find the files on your disk and import them from the file explorer menu your operating system offers.
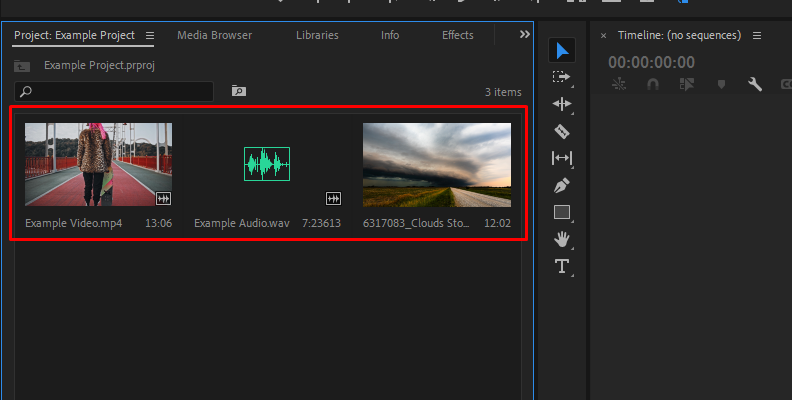
Then, you should be able to see all imported files in the "Project" tab.
Create a Sequence and Apply the BCC+ Night Vision Effect
The next step is to create an new sequence from the footage you imported. Simply drag the videos from the "Project" tab onto the timeline area.
When you already have the sequence in the timeline area, it's time to add the BCC+ Night Vision effect.
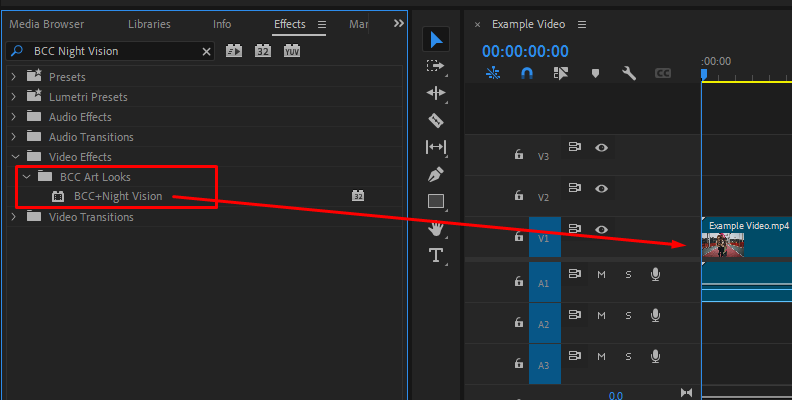
Open the "Effects" tab window and use the search bar to find BCC+ Night Vision.
Then, drag and drop it over your video/image to apply it.
Adjust Settings in the Effect Controls Panel
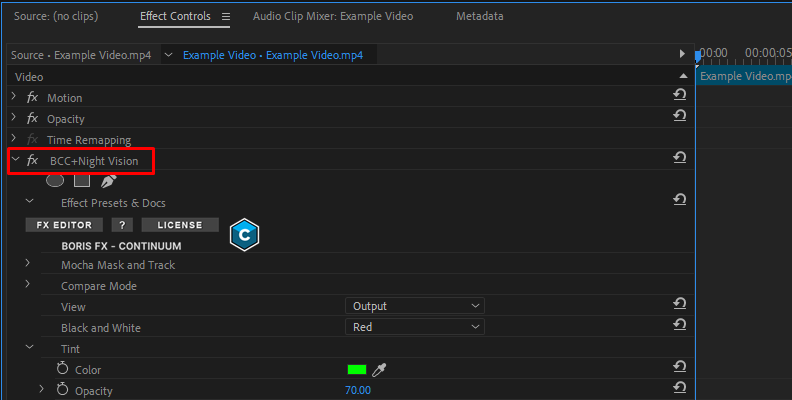
All Continuum effects come with various parameters that you can adjust to fully customize how the effect looks and to fit your project's needs.
Access the "Effect Controls" panel in the top-left corner to find all the options you can modify/adjust.
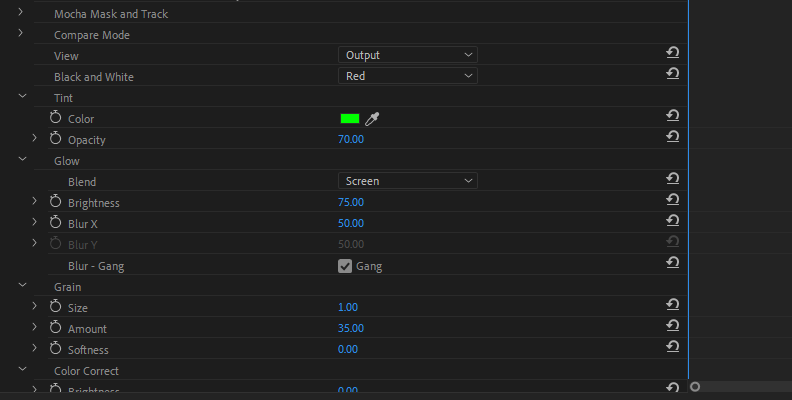
Just by using the default settings, meaning dragging and dropping the effect over the video, you can immediately notice a significant difference.
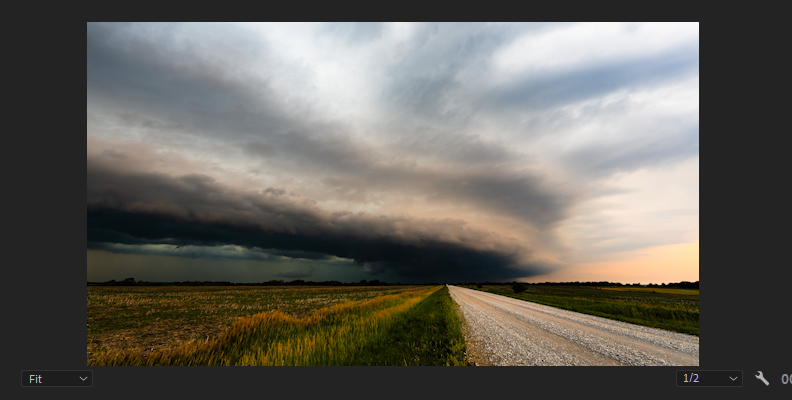
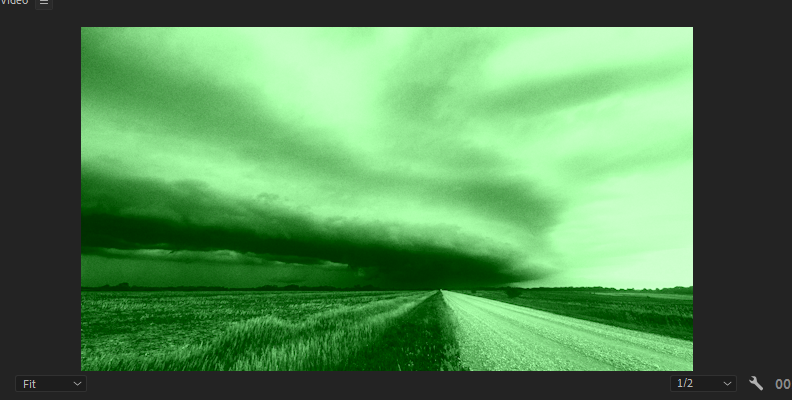
With further modification, you can make this even more suitable for your project's specific needs.
Final Words
That's all about the night vision effect and why you may want to create it artificially using video editing software and plug-ins rather than recording the real thing using real equipment.
Hopefully, this will help you create some impressive atmospheres in all your future work and save a lot of funds while at it.
We thank you for reading and wish you the best of luck!


