


Social media is filled with creative photos that use filters or stickers to make them more appealing. Rainbow photo effects are extremely popular on social media like Instagram and other apps. However, these apps don't always offer a very realistic rainbow effect.
If you want a professional look with more customizable rainbow filters, add a rainbow background, or add rainbow effects to your art and portraits and upload them on social media, keep reading to find out how.
In today's article, I'll show you how to add rainbow filters to your photos using the effect BCC+ Chroma Bands included in Continuum to transform your favorite photo into a wonderful piece of art with beautiful rainbow filters.
Let’s dive in!
How to Add Rainbow Filters to Your Photo with BCC+ Chroma Bands
For this tutorial, you'll use Boris FX Continuum filters, specifically the rainbow light filter BCC+ Chroma Bands. This rainbow effect allows you to create artistic photography. Add rainbows to your images to create a colorful photo, or add a rainbow in the background of your landscapes.
BCC+ Chroma Bands is a rainbow filter that produces a pattern of rainbows around a light source. It can be fully customizable to the type of picture you're working on. It's easy to apply and use for anyone familiar with their host video or photo editor.
Step 1: Download and Install Continuum
Ensure that Continuum is installed on your PC or Mac. If you're a new user, go to the Continuum website and download the installer using the Free Trial option.

Once you download and install the Boris FX Hub, choose to install Continuum for your host application. Continuum is available for After Effects, Premiere Pro, VEGAS Pro, DaVinci Resolve, and more OFX hosts.
For this specific guide, we'll be using Adobe Premiere Pro, but keep in mind you can use any other video editing software compatible with Continuum. The process will be almost identical aside from the differences in the User Interface across various software.

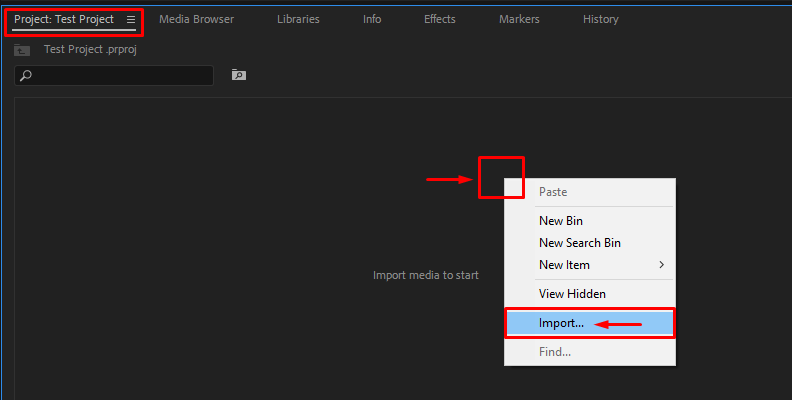
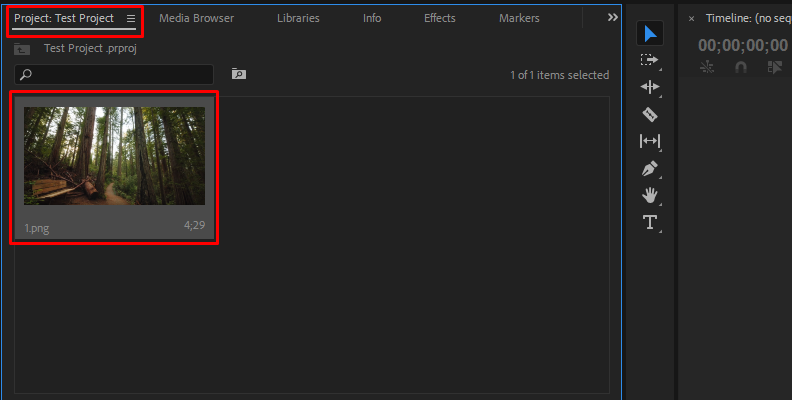
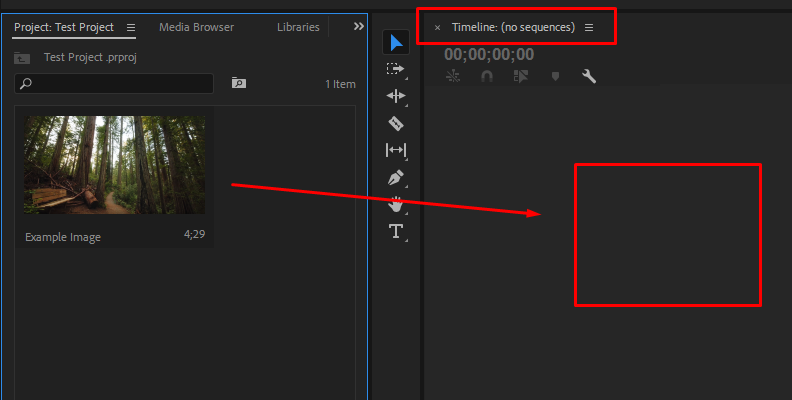
Step 2: Import an Image to Add Rainbow Photo Effects
Launch your host application software and create a new project with the photos to which you want to add rainbow effects. Since the rainbows can be applied and customized individually, you can import multiple photos. You can also add rainbow filters to video clips.
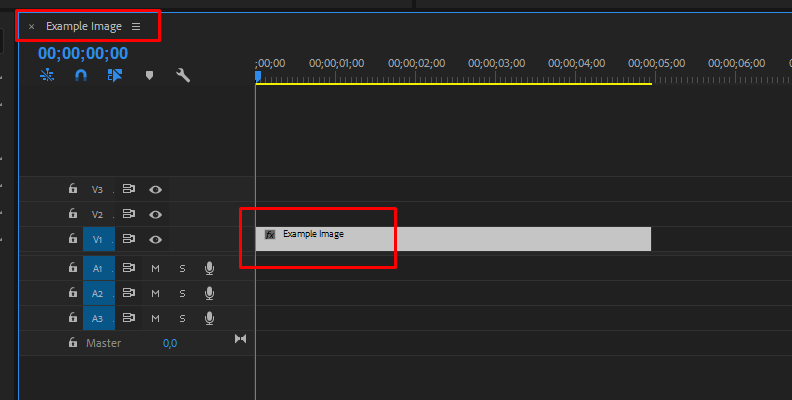
Step 3: Apply BCC+ Chroma Bands
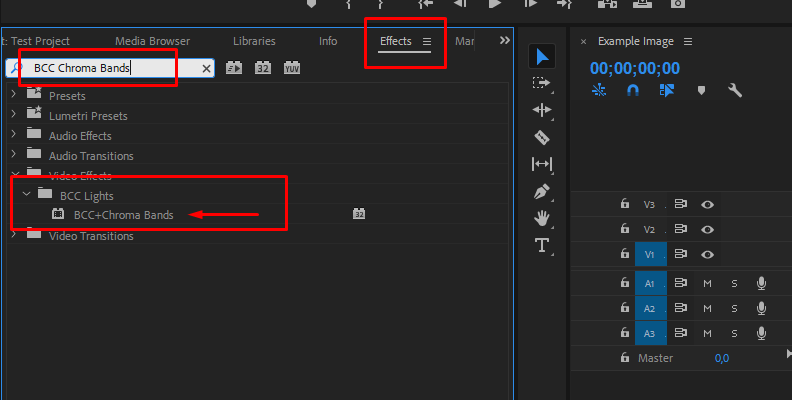
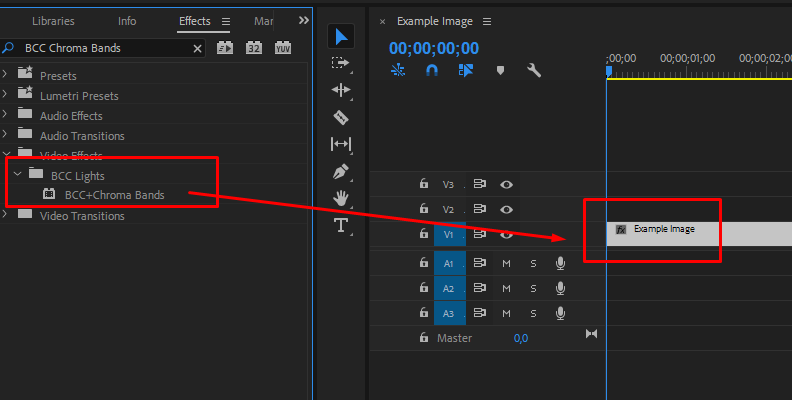
Search BCC+ Chroma Bands under the BCC Lights category to add the rainbow filter. Before applying it, make sure to have selected the right photo or layer, or click and drag the effect to the right picture.
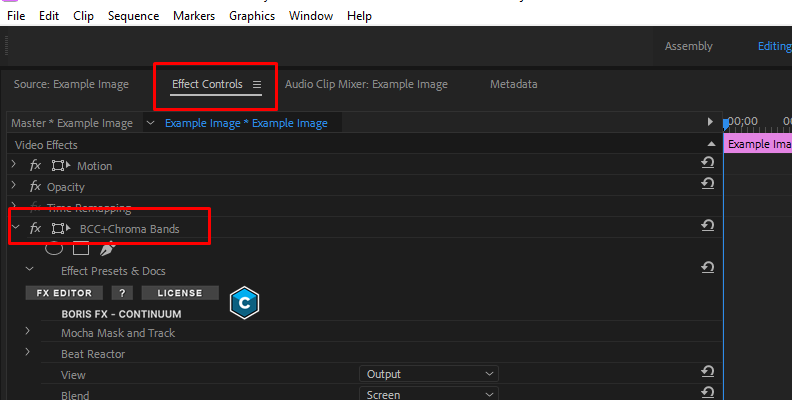
The rainbow filter has several parameters you can tweak using your host effects panel. But before you do, launch the FX Editor to check out all its features.
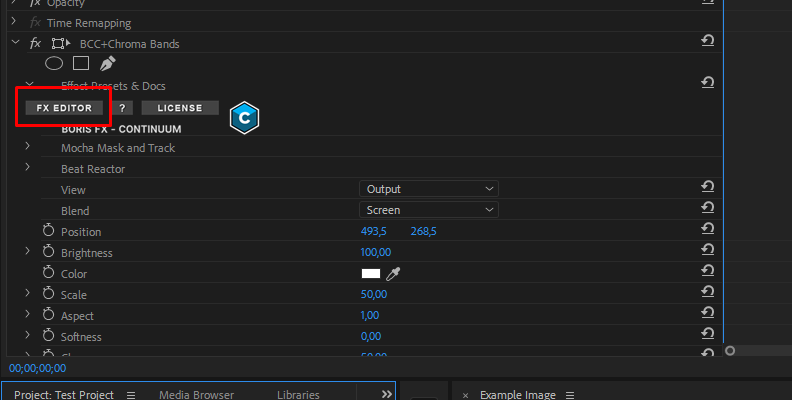
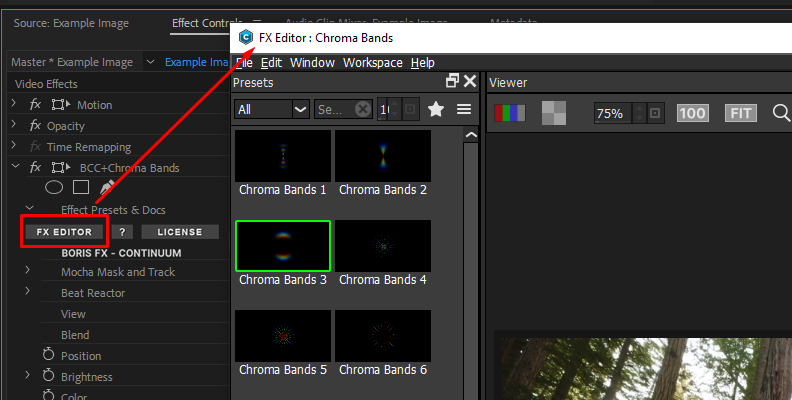
Step 4: The FX Editor
Click on the FX Editor button to launch it. The FX Editor is Continuum's user interface, where you can select a preset for rainbow effects, preview the rainbow filters over your photo and video, and adjust the parameters to customize the rainbow photo filter.
You can modify the workspace by adding, deleting, or rearranging the windows in the FX Editor interface to fit your workflow.
Step 5: Using Presets
One of the things I like about Continuum effects is that they all come with presets that get updated regularly. These are easy ways to quickly add a rainbow effect to your photos and videos.
Select one of the presets to preview it in the viewer window. If you like the preset, click Apply in the bottom right corner to return to your host and continue editing the photo, or apply another rainbow filter to the next picture.
Step 6: Customize the Rainbow Filter
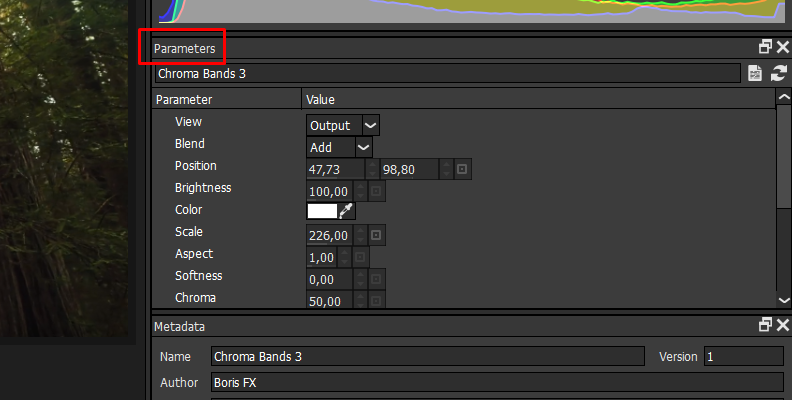
Even though the presets are good, sometimes you have a specific idea and want to customize the rainbow effect. Let's look at the parameters. I'll review them individually to help you understand what each one does.
You can change the view between the output image and element to make it easy to visualize your changes to the rainbow effect.
Step 7: Blend Mode
The first parameter is the blending mode. The rainbow filter offers only two: Add and Screen. With Add, the effect appears as a rainbow overlay in your photo, but if you choose Screen, the rainbow effect will blend with the source image using the screen blend, which retains the highlights.
Step 8: Position and Scale
You can drag the point in the viewer windows to move the rainbow filter or use the position controls. The first set of values controls the X-axis, and the second controls the Y-axis.
To change the size of the rainbow effect, use the scale parameters to make it bigger or smaller and the Angle parameter to adjust the angle of the rainbow.
You can adjust the offset to change the inner diameter of the bands and the aspect ratio to adjust the rainbow in your photo.
Step 9: Rainbow Style
You can adjust several parameters to change the look of the rainbow effect. Most of them are self-explanatory, such as Brightness, Softness, Noise, and Color, which does exactly what it says: adjust brightness levels, blur the bands, add noise to the bands, and set the colors of the bands.
With Chroma, you can adjust the saturation or intensity of the colors. Density sets the number of rays, and Cycles sets the number of bands. Use Spread to rearrange the distribution of the bands and Taper to fade the edges of the chroma bands.
When you're done, click Apply, and all changes will transfer to your host.
Step 10: Using Mocha Mask and Track
Sometimes, you want to add the rainbow effect not as an overlay but on the background behind the subject or objects in the photo. Using Mocha Mask allows you to create a mask to apply the effect only on part of the image.
You can also use Mocha Track to track the rainbow photo effect for motion graphics in your video clips.
To use it, display the Mocha Mask and Track parameter in the effects panel and click Mocha Mask to launch Mocha. Use the spline tools to create the shapes, then click save and close Mocha.
Back on your host, you can adjust the mask's intensity, opacity, shape, and edges.
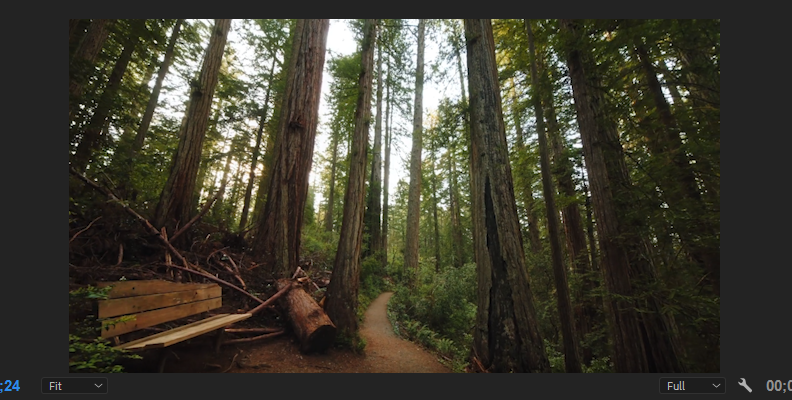
This is our BEFORE image.
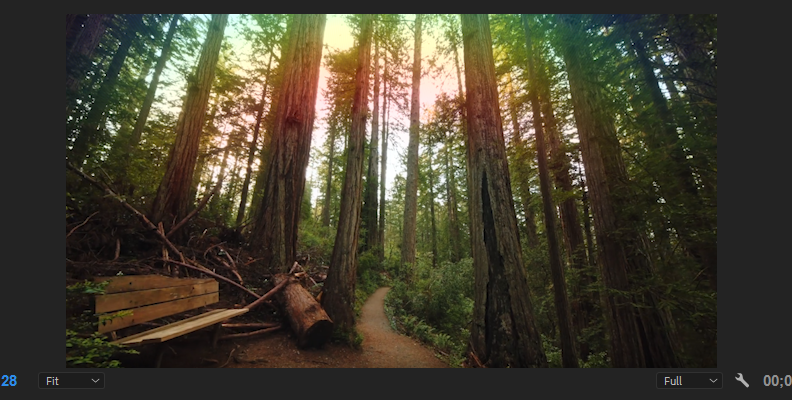
And here is our AFTER image.
Final Words
Rainbow filters can add a beautiful rainbow to the sky and more life and colorful light to your image. BCC+ Chroma Bands is an easy-to-use and customizable rainbow filter that gives you freedom to create unique rainbow photo effects with a friendly user interface.
Now you know how to add a rainbow color to your photos easier and with a more realistic look.
Good luck!


